Table of Contents
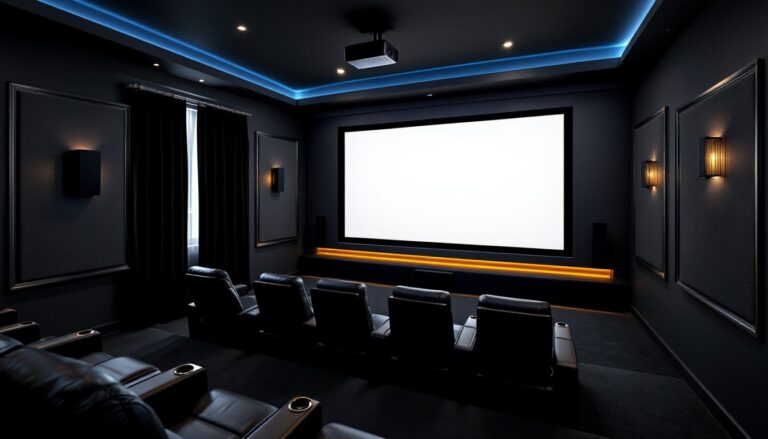
ToggleBuilding a home theater with a projector transforms a spare room into an immersive entertainment space that rivals commercial cinemas. Unlike traditional flat-screen setups, projector-based systems deliver screen sizes ranging from 100 to 150 inches without very costly, but only if the room, equipment, and installation are done right. This guide walks through the practical steps for planning, selecting, and installing a projector-based home theater, from room layout and screen selection to audio integration and light control. Whether converting a basement, bedroom, or dedicated media room, these instructions help homeowners avoid common pitfalls and create a setup that delivers cinematic performance.
Key Takeaways
- A home theater with projector delivers 100 to 150-inch screens at lower total cost than equivalent large TVs, with better eye comfort from reflected light rather than direct emission.
- Throw distance is critical—measure your room length against the projector’s throw ratio (typically 1.3:1 to 2.0:1) before purchasing, and follow the SMPTE guideline of seating 1.5 to 2.5 times the screen width away for optimal immersion.
- Choose 1080p projectors ($400–$800) for streaming and Blu-rays, or invest in 4K models ($1,200+) for screens over 100 inches; laser light sources outlast and outperform lamp-based alternatives over time despite higher upfront costs.
- Lighting control is non-negotiable—use blackout curtains, dark matte wall paint, and bias lighting to prevent image degradation, as projectors require darkness to display deep blacks and vibrant colors.
- Audio foundation of 5.1 surround sound with a subwoofer is essential; place the center channel below the screen (handling 60% of dialogue) and use an AV receiver with at least 75 watts per channel for rooms under 300 square feet.
- Complete the setup with acoustic treatments covering 15–25% of wall area, tiered seating with 12-inch elevation between rows, and smart home integration for convenient control of all equipment from a single interface.
Why Choose a Projector for Your Home Theater?
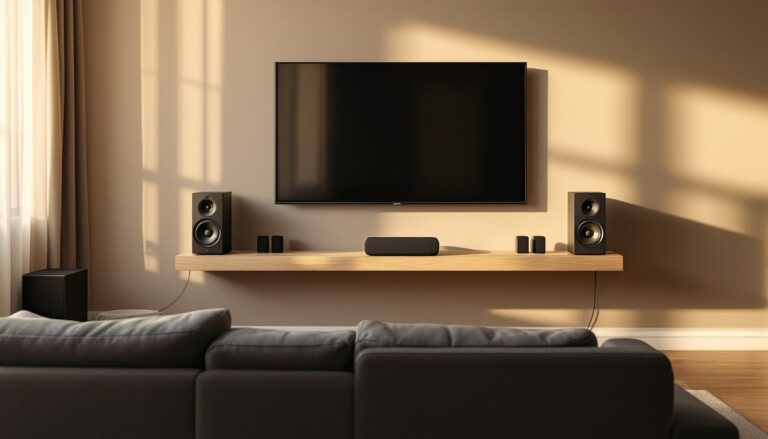
Projectors offer several advantages over large-format TVs, especially for dedicated theater spaces. Screen size flexibility is the primary draw, most home theater projectors handle 100 to 150-inch diagonal images without the exponential cost increase seen in large TVs. An 85-inch TV can cost $2,500 or more, while a quality 1080p or 4K projector paired with a 120-inch screen often comes in at a similar or lower total.
Eye comfort is another factor. Projectors use reflected light rather than direct emission, reducing strain during long viewing sessions. This makes them better suited for movie marathons or gaming. Also, projectors disappear when not in use, no massive black rectangle dominating the wall. Retractable or fixed screens blend into the room, maintaining a clean aesthetic.
That said, projectors require controlled lighting to perform well. They’re not ideal for bright, multipurpose living rooms with large windows. They also need regular bulb or laser module maintenance, and ambient light degrades contrast. But in a dedicated, light-controlled space, projectors deliver the most cinematic experience per dollar spent.
Planning Your Home Theater Space
Selecting the right room sets the foundation for performance. Basements are ideal due to minimal ambient light and flexible layout options. Spare bedrooms work if windows can be fully blacked out. Avoid rooms with vaulted ceilings or excessive hard surfaces, these create audio reflections that muddy sound.
Room Size and Layout Considerations
Throw distance determines how far the projector sits from the screen. Most home theater projectors have a throw ratio between 1.3:1 and 2.0:1. A 120-inch diagonal screen (approximately 104 inches wide for a 16:9 aspect ratio) requires 11 to 17 feet of distance with a 1.5:1 ratio. Measure the room’s length and compare it to the projector’s spec sheet before purchasing.
Ceiling height matters for mounting. Standard 8-foot ceilings work fine for most setups, but ensure at least 6 inches of clearance between the projector lens and ceiling for heat dissipation. If installing a drop-down mount, account for the extended length, typically 12 to 24 inches.
Seating distance follows the SMPTE guideline: viewers should sit at a distance of 1.5 to 2.5 times the screen width for optimal immersion. For a 120-inch screen, that’s roughly 13 to 22 feet. This keeps the image sharp without forcing viewers to scan the screen with their eyes.
Check local building codes if planning to add electrical outlets, in-wall wiring, or modify load-bearing walls. Most cosmetic installs (mounting a screen, running surface conduit) don’t require permits, but cutting into walls or adding dedicated 20-amp circuits for equipment might.
Selecting the Right Projector and Screen
Projector resolution should match content sources. A 1080p (1920×1080) projector handles Blu-rays and streaming services well and costs $400 to $800 for entry models. 4K (3840×2160) projectors deliver sharper images, especially on screens over 100 inches, but start around $1,200. Many 4K projectors optimized for home cinema now include HDR support, which improves contrast in dark scenes.
Brightness (lumens) affects how well the image holds up against ambient light. For a fully dark room, 1,500 to 2,000 lumens suffices. If the room has windows or ambient light, look for 2,500+ lumens. Keep in mind that lumens degrade over time, lamp-based projectors lose about 20% brightness after 2,000 hours.
Lamp vs. laser light source is a key decision. Lamp-based projectors are cheaper upfront but require bulb replacements every 2,000 to 5,000 hours at $100 to $300 per bulb. Laser projectors cost more initially but last 20,000+ hours with minimal brightness decay. For daily use, laser models pay off long-term.
Screen material impacts image quality more than most DIYers expect. A basic matte white screen works for dark rooms and costs $150 to $400 for a 120-inch fixed frame. Gray screens improve contrast in rooms with some ambient light by absorbing stray light while reflecting the projector’s image. Acoustically transparent screens allow speakers to hide behind the screen, a cleaner look for serious setups, but they cost $500+.
Fixed-frame vs. retractable screens: Fixed frames stay taut and flat, providing the best image quality. Retractable (motorized or manual) screens save space in multipurpose rooms but can develop wrinkles over time. For dedicated theaters, fixed-frame screens are the better choice.
Essential Audio Setup for Immersive Sound
Audio matters as much as video in a home theater. 5.1 surround sound is the baseline: three front speakers (left, center, right), two rear surrounds, and a subwoofer. 7.1 or 7.2 systems add side surrounds for better spatial effects. Dolby Atmos configurations (5.1.2 or 7.1.4) include ceiling or upward-firing speakers for overhead sound, but these require AV receivers that support object-based audio.
Speaker placement follows specific guidelines. The center channel sits directly below or above the screen, as it handles 60% of dialogue. Front left and right speakers should angle toward the primary seating position at ear height (typically 36 to 42 inches). Surround speakers mount 2 to 3 feet above seated ear level, slightly behind or beside the seating area.
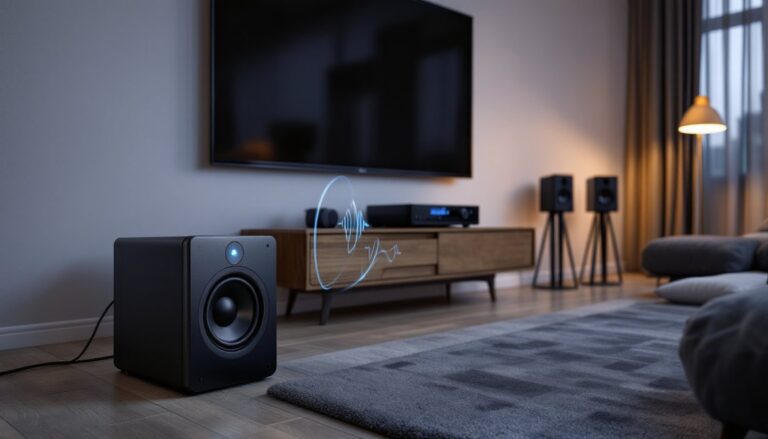
Subwoofer placement is flexible but affects bass response. A corner position amplifies output but may create boomy bass. Placing the subwoofer along the front wall, offset from the center, usually provides smoother low-end response. The “subwoofer crawl” method helps find the best spot: place the sub in the main seating position, play bass-heavy content, and crawl around the room’s perimeter to identify where bass sounds tightest.
AV receivers decode audio signals and power speakers. A 5.1-capable receiver with at least 75 watts per channel handles most rooms under 300 square feet. For larger spaces or high-efficiency speakers, 100+ watts per channel prevents distortion at higher volumes. Ensure the receiver has enough HDMI inputs for all sources (streaming device, Blu-ray player, gaming console) and supports 4K passthrough and HDR if using a 4K projector.
Speaker wire runs through walls for a clean install. Use 16-gauge or 14-gauge CL2-rated wire for in-wall runs, this meets fire safety codes for residential use. Surface-mount wire covers work if cutting drywall isn’t an option.
Lighting Control and Ambient Optimization
Projectors need darkness to show deep blacks and vibrant colors. Blackout curtains or shades are non-negotiable for rooms with windows. Look for curtains with thermal backing, these block 99% of light and also improve room acoustics by dampening reflections.
Wall and ceiling color affects image quality. Dark paint colors (charcoal, dark gray, or matte black) absorb stray light and prevent reflections from bouncing back onto the screen. Gloss or semi-gloss paints reflect light and should be avoided. If repainting isn’t an option, removable matte wall fabric or acoustic panels in dark colors reduce reflections.
Bias lighting reduces eye strain without washing out the image. LED strips mounted behind the screen or along the ceiling perimeter provide a soft glow that improves perceived contrast. Choose lights with adjustable brightness and a color temperature around 6500K (D65 standard), which matches the white point of most projectors.
Dimmer switches control overhead or wall sconces. Installing a dimmer allows for low-level lighting when navigating the room without fully illuminating the space. Use LED-compatible dimmers to avoid flickering.
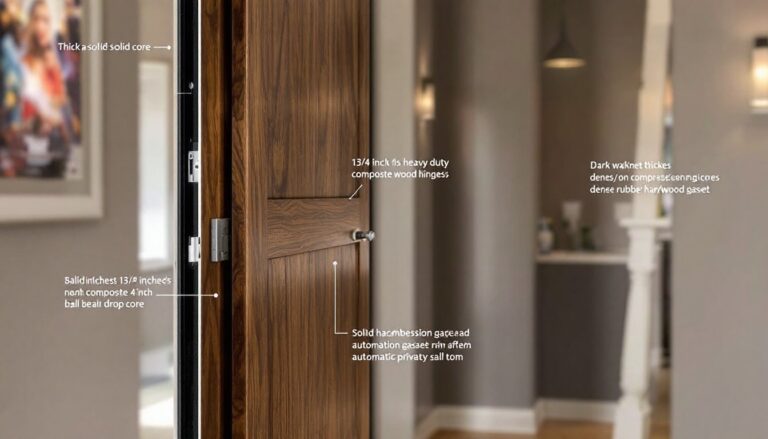
Light spill from doorways can be managed with draft stoppers or door sweeps that block the gap under doors. Some homeowners install heavy curtains over doorways in dedicated theaters to create a light-lock entry.
Seating, Décor, and Finishing Touches
Theater seating ranges from recliners to dedicated home theater seats with cup holders and storage. If building tiered seating, each row should elevate 12 inches above the one in front to ensure clear sightlines over heads. Riser platforms can be framed with 2×8 or 2×10 lumber and topped with ¾-inch plywood, then carpeted for sound absorption. Check local codes, platforms over 30 inches high may require guardrails.
Carpeting or area rugs dampen sound reflections from hard floors. Thick carpet with padding works best. Avoid hardwood, tile, or laminate in dedicated theaters unless adding rugs or acoustic underlayment.
Acoustic treatment improves sound clarity. Absorption panels (fabric-wrapped fiberglass or foam) reduce echo and should cover 15 to 25% of wall surface area. Place panels at first reflection points, where sound from the front speakers bounces off side walls before reaching the listener. Bass traps in room corners control low-frequency buildup that causes boomy or muddy bass.
Cable management keeps the install professional. Use in-wall conduit or raceways for long runs. Label cables at both ends (“projector HDMI,” “subwoofer power,” etc.) for easier troubleshooting. Velcro cable ties keep loose cables bundled behind equipment racks.
Smart home integration adds convenience. Many projectors tested by experts now support voice control via Alexa or Google Assistant, allowing users to power on equipment, dim lights, and start playback with a single command. Programmable remotes like Logitech Harmony consolidate control of the projector, AV receiver, and streaming devices into one interface.
Décor elements like movie posters, LED strip lighting, or backlit shelves for collectibles personalize the space. Just avoid reflective surfaces (glass-framed art, mirrors) that bounce projector light back toward viewers.
Building a projector-based home theater requires more planning than mounting a TV, but the result delivers a cinematic experience that scales with the space. Careful attention to room selection, equipment matching, and light control ensures years of immersive entertainment. Start with the projector and screen as the foundation, build out audio and lighting, then refine the space with seating and acoustic treatments for a setup that performs as well as it looks.