Table of Contents
ToggleSetting up a home theater starts with one critical decision: the TV. It’s the centerpiece that determines whether movie night feels cinematic or just like watching a bigger version of the bedroom screen. The right television for a dedicated home theater isn’t just about size, it’s about contrast, motion handling, input lag, and how well it performs in a controlled lighting environment. This guide walks through the technical considerations, installation logistics, and practical trade-offs that separate a great home theater display from a mediocre one.
Key Takeaways
- A home theater TV excels in dark environments with deep blacks, high contrast ratios, and HDR support—prioritizing picture quality over brightness features needed for bright living rooms.
- Screen size for a home theater TV should follow the 1.2 to 1.5 times viewing distance rule; for example, a 65-inch TV pairs well with a seating distance of 6.5 to 8 feet.
- OLED technology delivers true blacks and infinite contrast ideal for dedicated dark theaters, while Mini-LED offers a strong middle-ground solution with near-OLED blacks and higher brightness for mixed-use spaces.
- Essential features include at least 500 dimming zones, eARC support for lossless audio, Filmmaker Mode to eliminate soap opera effect, and input lag under 20ms for gaming.
- Mount your home theater TV with the center screen positioned at or slightly below seated eye level (40–48 inches from the floor) and ensure proper ventilation with 2–4 inches of clearance around the back and sides.
- Use in-wall rated HDMI cables (CL2 or CL3 rated) for behind-the-wall installation, and always use a mount rated for at least 1.5 times the TV’s weight for safe, secure mounting.
What Makes a TV Ideal for Home Theater Use?
A home theater TV prioritizes picture quality in dim or dark environments over features designed for bright living rooms. That means deep blacks, high contrast ratios, and minimal blooming (light bleed around bright objects on dark backgrounds). Peak brightness matters less here than in a family room where sunlight streams in.
Motion handling is critical. Films are shot at 24 frames per second, and a good home theater display processes that cadence smoothly without introducing soap opera effect (frame interpolation that makes movies look like daytime TV). Look for models with proper 24p playback and low input lag if gaming is also part of the setup.
HDR support, specifically Dolby Vision or HDR10+, unlocks dynamic metadata that adjusts brightness scene by scene. Static HDR10 is the baseline, but dynamic formats deliver noticeable improvements in shadow detail and highlight roll-off. Make sure the TV can hit at least 1,000 nits peak brightness for HDR content to truly pop, even in a dark room.
Finally, home theater TVs benefit from robust HDMI 2.1 ports (at least two) to handle 4K at 120Hz, eARC for lossless audio passthrough to a soundbar or receiver, and Variable Refresh Rate (VRR) if the setup doubles as a gaming rig. Don’t assume all HDMI ports on a TV are equal, check the spec sheet.
Choosing the Right Screen Size for Your Home Theater
Screen size is a function of viewing distance and resolution, not room size alone. For a 4K display, the Society of Motion Picture and Television Engineers (SMPTE) recommends sitting at a distance where the screen occupies about 40 degrees of your field of view. That translates to roughly 1.2 to 1.5 times the diagonal screen size.
For example, a 65-inch TV pairs well with a seating distance of 6.5 to 8 feet. A 77-inch screen works best at 7.5 to 9.5 feet, while an 85-inch model demands 8.5 to 10.5 feet. Go smaller than these ratios and the theater experience feels underwhelming: go larger and you’ll notice pixel structure or feel like you’re sitting in the front row of a multiplex.
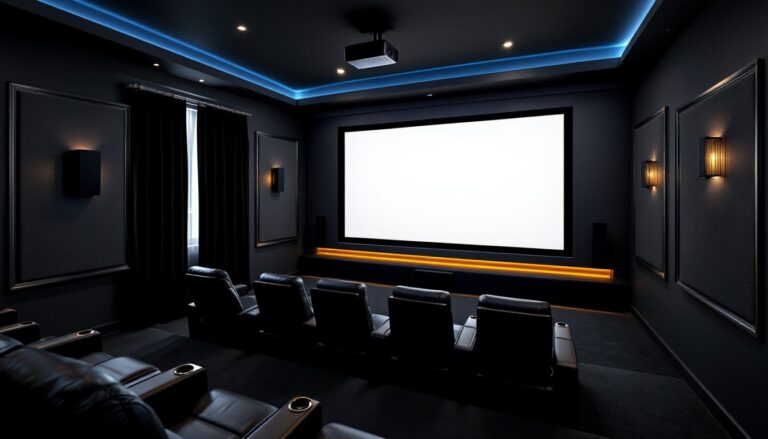
Measure your room’s throw distance (couch to wall) before shopping. If you’re working with a smaller space, say, 8 to 10 feet, a 65- or 75-inch TV is the sweet spot. Rooms with 12+ feet of depth can comfortably accommodate 85 inches or larger. Consider a projector setup if you want a screen over 100 inches: at that scale, projection often makes more sense than a panel.
Don’t forget ceiling height and furniture scale. A massive TV mounted too high or flanked by low furniture looks awkward and strains necks during long viewing sessions.
Display Technology: OLED vs. QLED vs. Mini-LED
OLED (Organic Light-Emitting Diode) remains the gold standard for home theater use. Each pixel emits its own light, enabling true blacks, infinite contrast, and near-instant response times. Current models using WOLED or QD-OLED panels deliver stunning color accuracy and viewing angles. The trade-off: OLED panels are more susceptible to burn-in if static logos or UI elements are displayed for hours daily, and peak brightness tops out around 1,000–1,500 nits. For a dedicated theater room used primarily for movies, burn-in risk is minimal.
QLED (Quantum Dot LED), marketed heavily by Samsung, uses a traditional LED backlight with a quantum dot filter for wider color gamut. QLED TVs can hit 2,000+ nits peak brightness, making HDR highlights dazzling, but they rely on edge-lit or full-array local dimming zones. Even high-end models struggle with blooming around bright objects on dark backgrounds. QLED makes sense if your room has some ambient light or if you watch a mix of HDR sports and movies.
Mini-LED is an evolution of QLED, replacing standard LEDs with thousands of tiny backlights for more precise dimming zones, sometimes over 1,000 zones in premium models. This bridges the gap between OLED’s contrast and QLED’s brightness. Mini-LED TVs deliver near-OLED blacks without burn-in risk, but they’re often pricier and thicker due to the backlight array. Expert reviews of top home theater TVs consistently highlight Mini-LED as a strong middle ground for mixed-use spaces.
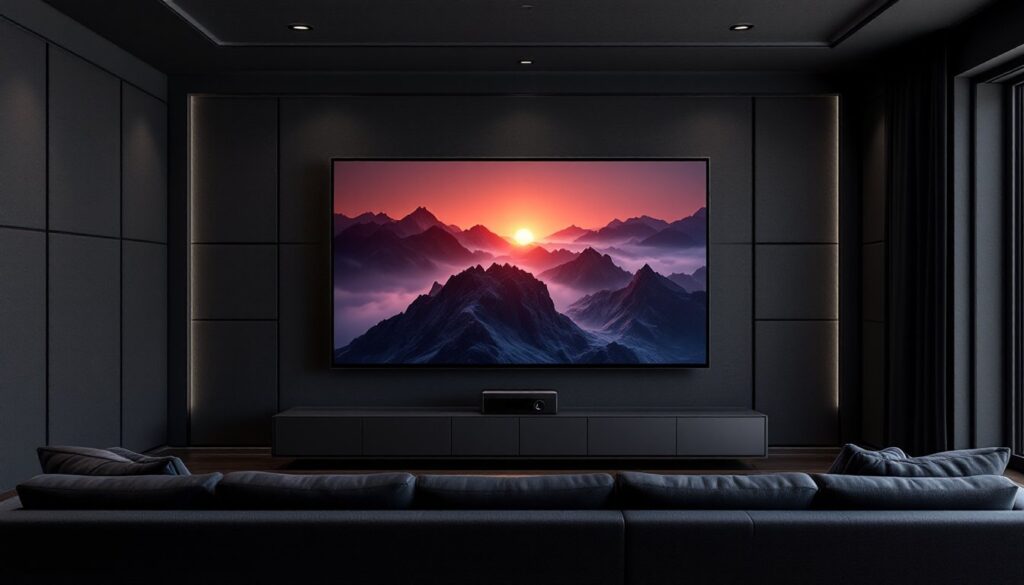
For a dark, dedicated theater, OLED wins. For a room with windows or varied content, Mini-LED or high-end QLED is the safer bet.
Essential Features for an Immersive Home Theater Experience
Beyond panel type, several features separate a good home theater TV from a great one. Local dimming (whether full-array or Mini-LED) is non-negotiable if you’re not going OLED. More zones mean better contrast and less blooming. Look for at least 500 zones on a 65-inch set: flagship models exceed 1,000.
eARC (enhanced Audio Return Channel) lets the TV send uncompressed Dolby Atmos or DTS:X audio to a soundbar or AV receiver via a single HDMI cable. Without eARC, you’re limited to compressed audio formats, which undermines a high-end sound system. Verify that your TV and receiver both support eARC, and use a certified Ultra High Speed HDMI cable (18 Gbps minimum, 48 Gbps for full HDMI 2.1 features).
Filmmaker Mode (or equivalent presets) disables motion smoothing, sharpening, and color enhancement to display content as the director intended. It’s a one-button fix for the soap opera effect that plagues many out-of-box settings. Enable it for movies: leave it off for sports or gaming if you prefer punchier visuals.
Calibration tools matter. Professional home theater recommendations often emphasize models with built-in calibration apps (like CalMAN or Portrait Displays) that pair with a colorimeter for DIY tuning. If you’re investing in a high-end panel, spending an extra $200 on calibration or a colorimeter tool yields noticeable improvements in color accuracy.
Finally, input lag under 20ms is essential if gaming shares the space. Most modern TVs hit this in Game Mode, but double-check reviews, some sacrifice picture quality to achieve low lag.
Where to Position Your Home Theater TV
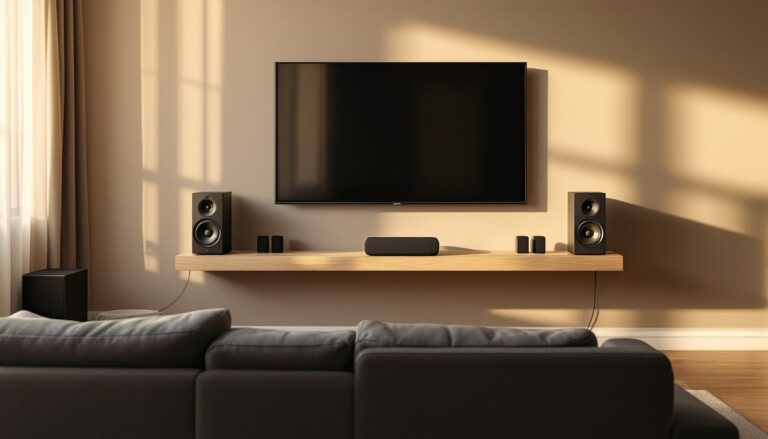
Mounting height should place the center of the screen at or slightly below seated eye level, typically 40 to 48 inches from the floor to the screen’s midpoint, depending on couch height. Mounting too high (a common mistake above fireplaces) forces viewers to tilt their heads, leading to neck strain during a two-hour film.
For wall mounting, locate the studs with a stud finder. Standard 16-inch on-center spacing is typical in modern framing, but older homes or metal studs may vary. Use a mount rated for at least 1.5 times the TV’s weight. A 65-inch OLED weighs around 50 pounds without the stand: choose a mount rated for 75+ pounds. If mounting to drywall alone (not recommended for screens over 50 inches), use toggle bolts rated for the load, but a stud mount is always safer.
Avoid placing the TV opposite large windows or under direct recessed lighting. Even in a dark theater room, reflections from gloss-finish screens can be distracting. If the layout forces this, consider bias lighting, a 6500K LED strip behind the TV, to reduce eye strain and improve perceived contrast.
Ventilation matters. Leave at least 2 to 4 inches of clearance around the back and sides for airflow. Enclosed cabinets or tight built-ins can cause overheating, especially with OLED panels that generate more heat than LED-backlit sets. If building custom millwork, include ventilation or plan for an open back.
DIY Installation Tips and Cable Management
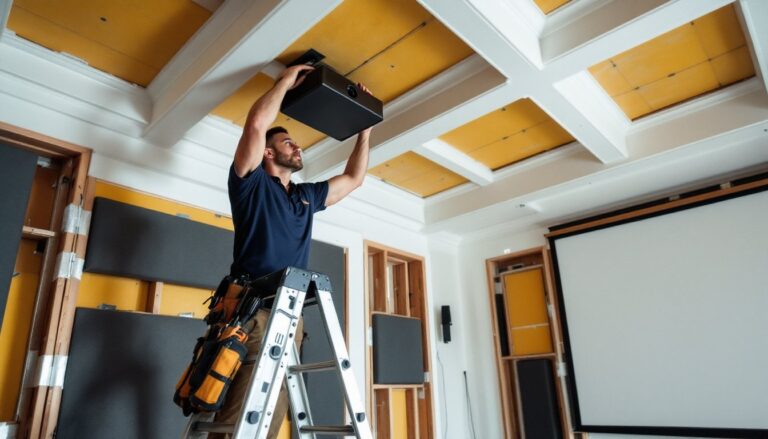
Wall mounting a large TV is a two-person job. Enlist help to lift the screen into the bracket, 55 inches and up are awkward alone, and a drop can shatter the panel. Start by attaching the mounting plate to the wall studs using lag bolts (typically 1/4-inch diameter, 3 inches long). Level the plate with a 24-inch bubble level or laser level: even a 1-degree tilt is visible on a large screen.
Attach the bracket arms to the TV’s VESA mounting points on the back. VESA patterns (200x200mm, 400x400mm, etc.) are standardized, but verify your mount matches the TV’s spec. Use the bolts provided with the mount, not random hardware, incorrect length or thread pitch can crack the panel housing.
For cable management, run cables through the wall if local codes allow (check your jurisdiction’s electrical and low-voltage wiring codes). An in-wall rated HDMI cable (CL2 or CL3 rated) is required for legal behind-the-wall installation. Standard cables are a fire hazard if enclosed. Install a recessed low-voltage box or brush plate behind the TV and another near the floor for a clean look. If running power, hire a licensed electrician or install a recessed power kit designed for TVs, these include a plug at the top and an outlet at the bottom, routed through the wall per NEC code.
If in-wall routing isn’t feasible, use a paintable cable raceway or flexible cord cover that mounts with adhesive or screws. Not as clean as in-wall, but better than exposed cables.
Label cables at both ends with a label maker or tape. When troubleshooting or upgrading, you’ll thank yourself. Secure slack behind the TV with velcro cable ties (not zip ties, which can damage cables if over-tightened). Keep power cables separate from HDMI and audio to minimize electromagnetic interference, though modern shielded cables are fairly resistant.
Safety gear: Wear safety glasses when drilling overhead, and use a dust mask if cutting into old drywall (lead paint or asbestos risk in pre-1980s homes). A cordless drill and magnetic bit holder make overhead work easier. If you hit unexpected blocking or metal studs, a metal-cutting bit or oscillating multi-tool may be necessary.
Conclusion
Choosing and installing a home theater TV comes down to matching panel technology to room conditions, sizing the screen to viewing distance, and executing a clean, safe installation. Take time with measurements, invest in proper mounting hardware, and don’t skip cable management or calibration. The result is a setup that delivers immersive, cinema-quality performance for years.