Table of Contents
ToggleA home theater isn’t complete until it announces itself. While most DIYers focus on screens, sound, and seating, the right signage turns a basement media room into a dedicated cinema space. Whether it’s a glowing LED marquee above the door or a vintage-style poster frame on the wall, a custom sign adds personality and polish. It’s a straightforward weekend project that delivers outsized visual impact, no major tools or carpentry skills required. This guide walks through style options, a step-by-step DIY build, and where to source ready-made options when time or tools are tight.
Key Takeaways
- A home theater sign defines the entertainment space, sets expectations for guests, and adds finishing polish that signals the room is intentionally designed and complete.
- LED and neon-style signs are energy-efficient and easy to install with adhesive strips or brackets, while vintage marquee signs require basic woodworking but deliver authentic 1920s–1950s cinema aesthetic.
- A DIY backlit marquee project costs $60–90 and takes 4–6 hours, requiring only essential tools like a miter saw, router, and drill—no advanced carpentry skills needed.
- Proper installation includes routing channels for LED strips, using drywall anchors or studs for support, and routing power cords through low-voltage wall plates to meet electrical code.
- Pre-made home theater signs range from $40–400 depending on quality and customization, with options from online marketplaces, specialty LED studios, local sign makers, and big-box retailers.
- Matching the home theater sign style to existing room finishes—such as rustic wood marquees for reclaimed-wood paneling or sleek LED designs for modern setups—ensures cohesive visual impact and increases resale appeal.
Why Every Home Theater Needs a Custom Sign
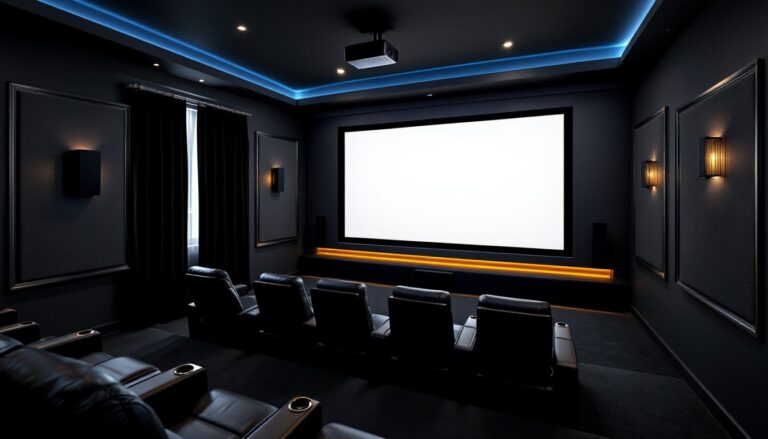
A home theater sign serves three practical purposes beyond decoration. First, it defines the space. In open-concept homes or multipurpose basements, a sign marks the transition from everyday living to entertainment mode. Second, it sets expectations for guests, no guessing which door leads to the theater. Third, it’s a finishing touch that signals the room is complete, not just a TV on a wall.
From a design perspective, signage ties the room together. If the theater has Art Deco sconces or velvet curtains, a vintage marquee reinforces the theme. For modern setups with smart lighting and minimalist furniture, a sleek LED sign keeps the aesthetic cohesive. Many luxury home design projects incorporate custom signage as a signature element that elevates the entire space.
Signs also add resale appeal. A well-executed home theater is a selling point, and a professional-looking sign shows buyers the room was designed with intent, not cobbled together. It’s a low-cost upgrade that photographs well in listings and makes virtual tours more memorable.
Popular Home Theater Sign Styles and Designs
LED and Neon-Style Signs
LED signs dominate the current market for good reason: they’re energy-efficient, cool to the touch, and available in thousands of color combinations. Most use flexible LED strip lighting behind acrylic or cut metal lettering. Expect to draw 8–15 watts for a 24-inch sign, comparable to a nightlight. Modern LED signs often include dimmer switches or remote controls, useful when adjusting ambient light for different viewing modes.
Neon-style signs mimic traditional glass tube neon using LED rope lights inside silicone tubing. They deliver the warm glow and retro vibe of real neon without the fragility, high voltage, or expense. True glass neon signs require a licensed electrician for installation and run on transformers that convert standard 120V to 15,000V. Unless the theater has a significant budget and vintage aesthetic, LED neon replicas are the smarter choice for DIYers.
Both styles mount easily with keyhole brackets or adhesive strips rated for the sign’s weight. For drywall installation, use #8 drywall anchors if mounting between studs: if hitting a stud, 1½-inch wood screws provide plenty of hold. Always route the power cord through the wall using a low-voltage mounting bracket (available at any home center) to meet code and avoid visible wires.
Vintage Movie Theater Marquee Signs
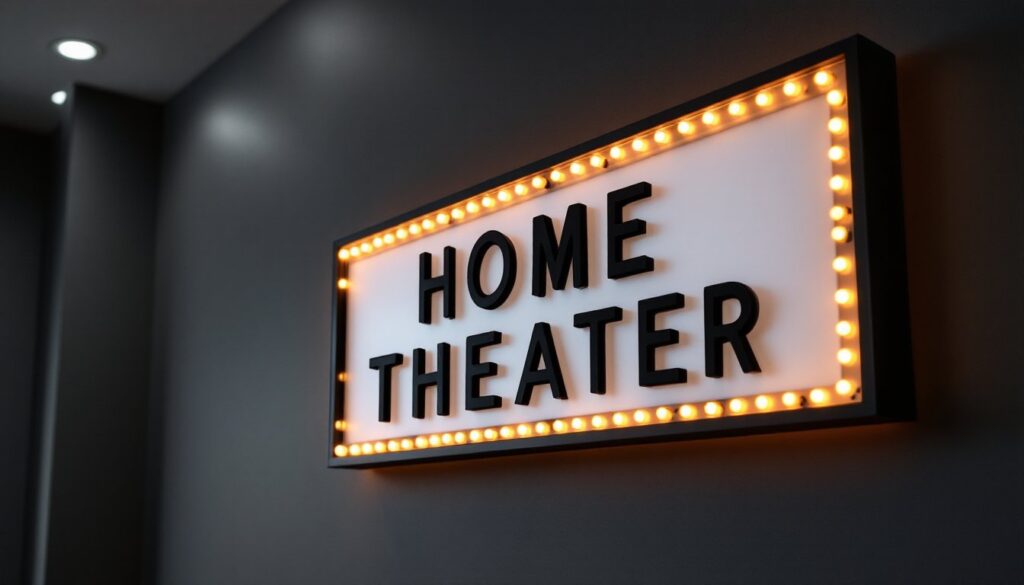
Marquee signs evoke 1920s–1950s cinema lobbies with backlit panels, bold typography, and often an arrow or starburst motif. DIY versions typically use a wood or MDF frame, routed channels for LED strip lights, and translucent acrylic panels with vinyl lettering. The frame depth usually runs 2–4 inches to accommodate lighting and wiring.
For authenticity, look for Edison-style bulbs (the small globe bulbs used on theater borders) or chaser light controllers that create the classic blinking marquee effect. These controllers plug inline between the LED strip and transformer, cycling lights in programmed sequences. They’re plug-and-play, no wiring knowledge needed.
Marquee builds require basic woodworking: a miter saw for clean corner cuts, a router (or Dremel with a router bit) for the light channel, and a drill for mounting holes. If the budget allows, have the acrylic panel custom-cut at a plastics supplier, cutting acrylic cleanly with a circular saw takes practice and risks cracking. Most shops charge around $20–40 for a 24×12-inch piece, including polished edges.
DIY Home Theater Sign: Step-by-Step Project Guide
This project builds a 24×12-inch backlit marquee sign using MDF, LED strip lights, and acrylic. Total cost runs $60–90 depending on materials already on hand. Expect 4–6 hours of work time over a weekend.
Materials List:
- One sheet ½-inch MDF, 24×48 inches (home centers sell half sheets)
- LED strip light kit, 12V with transformer and dimmer (6–10 feet)
- One piece ⅛-inch white or frosted acrylic, 20×8 inches
- Vinyl lettering or stencil and black acrylic paint
- Wood glue, 1¼-inch brad nails, sandpaper (120- and 220-grit)
- Primer and paint (spray paint works well for even coverage)
- Two sawtooth hangers or French cleat for mounting
Tools:
- Miter saw or circular saw with straightedge guide
- Router with ¼-inch straight bit (or Dremel with router attachment)
- Drill with ⅛-inch bit
- Brad nailer (or hammer and finishing nails)
- Safety glasses, dust mask, hearing protection
Step-by-Step Instructions:
-
Cut the frame pieces. From the MDF, cut two pieces at 24 inches (top and bottom rails) and two at 12 inches (sides). Cut all pieces 3 inches wide. Use a miter saw for 45-degree corners if desired, or simple butt joints work fine, the paint hides seams.
-
Rout the light channel. On the inside edge of each frame piece, rout a channel ½ inch deep and ½ inch wide, set back ¾ inch from the inner edge. This creates a recessed pocket for the LED strip. Test-fit the strip as you go: it should sit flush or slightly below the surface. Wear a dust mask, MDF creates fine particles that linger.
-
Assemble the frame. Apply wood glue to the mitered or butt joints and clamp or brad-nail the frame together. Check corners with a speed square. Let glue cure for 30 minutes before handling.
-
Sand and finish. Sand all surfaces with 120-grit, then 220-grit. Wipe clean with a tack cloth. Apply one coat of primer (essential for MDF, it’s porous and drinks paint), then two coats of semi-gloss or satin paint. Black, navy, or charcoal are classic theater colors. Allow 2 hours between coats.
-
Install the LED strip. Peel the adhesive backing and press the strip into the routed channel, starting at one corner and working around the frame. Leave the transformer pigtail exiting at the bottom corner where the cord will drop behind the sign. Insights from home automation reviews suggest using dimmable LEDs to adjust brightness based on viewing conditions.
-
Apply lettering to acrylic. Use vinyl decals (available from craft stores or online custom shops) or hand-paint with stencils and acrylic paint. Common phrases: “Now Showing,” “Home Theater,” family name + “Cinema,” or the home’s street address styled like a movie title. Let paint cure fully, 24 hours, before handling.
-
Mount the acrylic panel. Drill small pilot holes in each corner of the acrylic (use a ⅛-inch bit at low speed to prevent cracking). Attach from behind the frame using small screws and washers, leaving a ¼-inch gap between the acrylic and frame back so light diffuses evenly. Alternatively, use clear silicone adhesive dots in each corner.
-
Add hanging hardware. Attach two sawtooth hangers on the back, 6 inches apart, centered horizontally. For signs over 5 pounds, use a French cleat instead, a 1×3 ripped at a 45-degree angle, one half screwed to the sign, the other to the wall into studs.
-
Plug in and test. Connect the transformer, check for even lighting, and adjust the dimmer. If you see dark spots, the LED strip may need repositioning or the channel depth adjusted.
Safety Notes:
- MDF dust is fine and irritating, always wear a dust mask and work in a ventilated area.
- LED strips run on 12V DC, safe to handle, but ensure the transformer is rated for the strip length (watts per foot × total feet).
- If running the power cord through a wall, use a low-voltage wall plate and brush grommet to meet electrical code.
Where to Buy Pre-Made Home Theater Signs
For those short on time or tools, several retailers specialize in ready-to-hang theater signage. Quality and price vary widely, so compare materials and reviews before buying.
Online Marketplaces:
- Etsy: Offers custom neon-style LED signs and wood marquees, many handmade by small shops. Expect $80–300 depending on size and customization. Read reviews carefully, build quality and shipping times fluctuate by seller.
- Amazon: Stocks mass-produced LED signs, often imported. Prices run $40–120, but longevity can be hit-or-miss. Check that the transformer is UL-listed and the seller offers returns.
Specialty Sign Shops:
- Neon Beach, Yellow Pop, and similar boutique LED neon studios: Higher-end custom signs with robust warranties. Pricing starts around $150–400 for a 24-inch sign. These are built to last and photograph well, worth it for a high-visibility install.
- Local sign makers: Many commercial sign shops also do residential work. Bring dimensions and a design sketch: they can fabricate using professional materials (powder-coated metal, UV-stable acrylics). Pricing is usually competitive with online boutiques, and turnaround is faster.
Big-Box Retailers:
- Home Depot, Lowe’s, and similar: Carry basic LED strip kits and sometimes pre-made light-up letter boards. Selection is limited, but it’s a good option for same-day pickup if building from scratch.
- Hobby Lobby, Michaels: Stock smaller marquee light boxes and letters. These work for accent pieces but usually max out at 12×18 inches, fine for a shelf or side table, less impactful on a wall.
Design Tip:
When choosing a pre-made sign, match the style to the room’s existing finishes. For example, if the theater features reclaimed wood paneling and interior design inspiration leans rustic, a weathered wood marquee fits better than a bright pink neon script. Measure the intended wall space before ordering, signs look smaller in product photos than they do in a room.
Conclusion
A home theater sign is one of the simplest upgrades with the biggest visual payoff. Whether building a backlit marquee from scratch or ordering a custom LED sign, the project is manageable for most DIYers and adds a layer of polish that completes the space. Measure carefully, use proper mounting hardware, and match the sign style to the room’s overall design. With a weekend and under $100, any media room can look like a purpose-built cinema.