Table of Contents
ToggleSeattle’s rainy weather creates the perfect excuse to build a dedicated entertainment space that rivals any commercial cinema. Home theater installations have surged in popularity across the Pacific Northwest, combining acoustic engineering with smart home technology to create immersive viewing experiences. Whether converting a basement, bonus room, or spare bedroom, homeowners can achieve professional-grade results with careful planning and the right equipment. This guide walks through everything needed to plan, budget, and execute a home theater project that delivers theater-quality sound and picture without leaving the house.
Key Takeaways
- Home theater installation in Seattle can add 5-10% to resale value while providing year-round entertainment that counters the region’s 152+ rainy days annually.
- Proper room planning—including dimensions of at least 12×15 feet, basements for sound isolation, and rectangular layouts—is essential for successful home theater installation projects.
- Complete systems range from entry-level setups at $3,000-6,000 with a TV and 5.1 audio to high-end Atmos configurations exceeding $20,000, with labor costs between $75-150 per hour in Seattle.
- Humidity control (40-50% relative humidity) and acoustic treatment, especially for shared walls in townhouses and condos, protect both equipment and neighbor relationships in Seattle’s dense housing.
- Hybrid DIY-professional approaches work well, with homeowners handling equipment selection and basic installation while professionals manage electrical work, in-wall wiring, and calibration requiring Seattle permits and certifications.
Why Seattle Homeowners Are Investing in Home Theater Systems
Seattle’s climate makes indoor entertainment spaces especially valuable. With an average of 152 rainy days per year, dedicated home theaters provide year-round entertainment that doesn’t depend on weather conditions.
Property value considerations drive many installation decisions. A well-executed home theater can add 5-10% to a home’s resale value in Seattle’s competitive real estate market, particularly in neighborhoods like Queen Anne, Capitol Hill, and Ballard where tech-savvy buyers expect smart home features.
The pandemic accelerated the shift toward premium home entertainment. Streaming services now release films simultaneously with theatrical debuts, making high-quality home viewing setups more practical. Many Seattle homeowners who previously spent $100-200 monthly on theater tickets found that redirecting those funds toward installation costs made financial sense.
Sound insulation requirements in Seattle’s dense urban housing also make proper theater design important. Modern townhouses and condos share walls with neighbors, so acoustic treatment isn’t just about audio quality, it’s about being a considerate neighbor and meeting local noise ordinances.
Planning Your Home Theater Installation Project
Successful installations start with realistic planning that accounts for room limitations, equipment needs, and budget constraints.
Choosing the Right Room and Layout
Basements offer natural advantages for home theaters. Below-grade locations provide inherent sound isolation, easier light control, and fewer windows to treat. Seattle basements do require moisture management, run a dehumidifier and check for water intrusion before installing electronics or acoustic panels.
Minimum room dimensions for comfortable viewing are 12 feet wide by 15 feet deep, but 14 x 20 feet or larger allows proper speaker placement and seating distance. Ceiling height matters too: 8 feet minimum, with 9-10 feet preferred for overhead speakers in Dolby Atmos configurations.
Rectangular rooms work better than square ones. Square rooms create standing waves that muddy bass response. If working with a square space, plan for additional acoustic treatment with bass traps in corners.
Screen size and viewing distance follow industry standards. For a 4K display, sit 1 to 1.5 times the screen width away. A 120-inch diagonal screen (105 inches wide) requires 9-13 feet of viewing distance. For 1080p projectors, increase that to 1.5-2.5 times screen width.
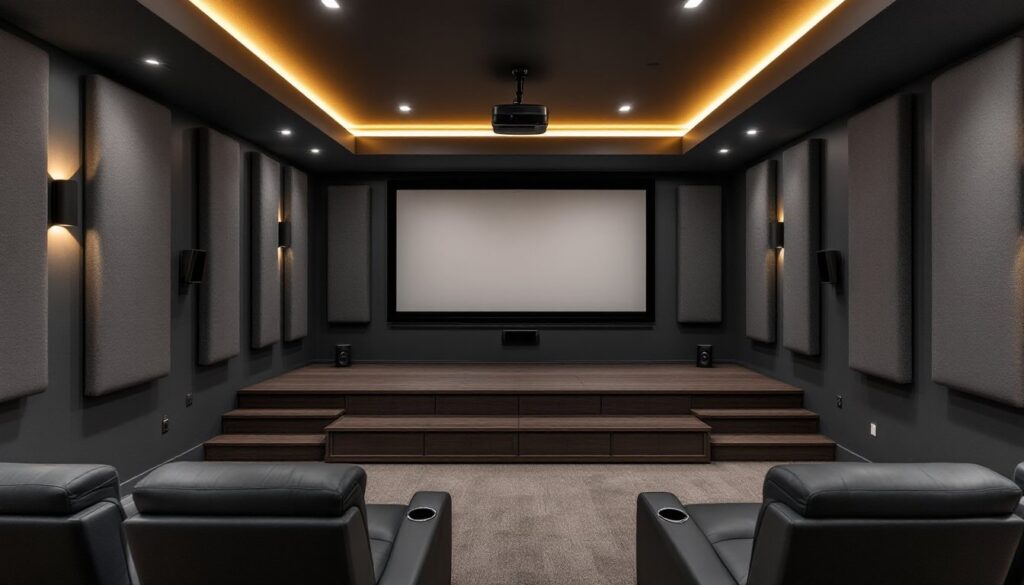
Seating layout impacts both sightlines and acoustics. Stadium seating (riser platforms) work well when accommodating multiple rows. Build risers from 2×10 or 2×12 framing with ¾-inch plywood tops, typically 8-12 inches high for the second row.
Door placement matters more than most DIYers expect. Avoid placing the entrance directly behind seating, viewers backlit by hallway light ruin immersion. Side or rear-corner door locations work best.
Essential Components for a Seattle Home Theater
A complete system requires careful component selection matched to room size and performance goals.
Display options break into two categories. 4K projectors deliver true cinema scale at 100+ inches diagonal, with lamp-based models starting around $800 and solid-state laser models at $2,000+. Lamp life runs 3,000-5,000 hours (replace bulbs every 2-3 years with regular use). Large-format TVs (75-85 inches) cost $1,200-3,000 and eliminate bulb replacement, but max out smaller than projection screens.
Audio receivers (AVRs) serve as the system hub. Look for models supporting Dolby Atmos or DTS:X for overhead sound effects. Entry-level 7.2-channel receivers start at $400-600, while mid-range 9.2 or 11.2 models with better room correction software run $1,000-1,500. Ensure the AVR has enough HDMI 2.1 ports for all sources.
Speaker configuration typically follows 5.1, 7.1, or Atmos layouts:
- 5.1 systems: Left/center/right front, two surrounds, one subwoofer, minimum for immersive sound
- 7.1 systems: Adds rear surrounds for better localization
- Atmos systems: Adds 2-4 overhead or upfiring speakers for height channels
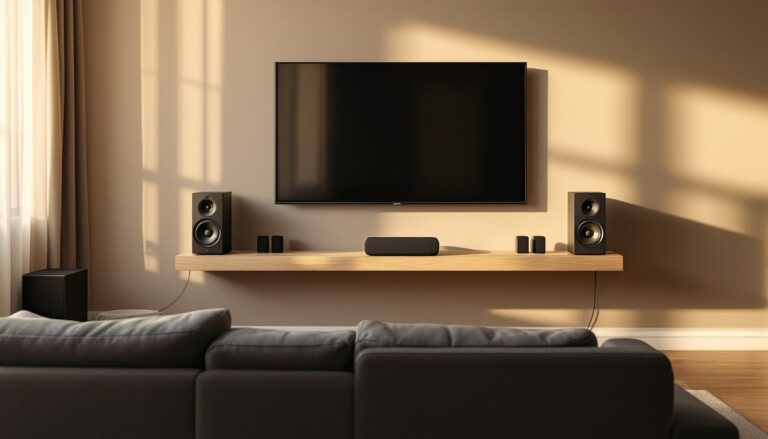
In-wall and in-ceiling speakers save space and create clean aesthetics. Brands like Klipsch, Polk, and Yamaha offer models designed specifically for home theater use, typically $150-400 per pair for quality options.
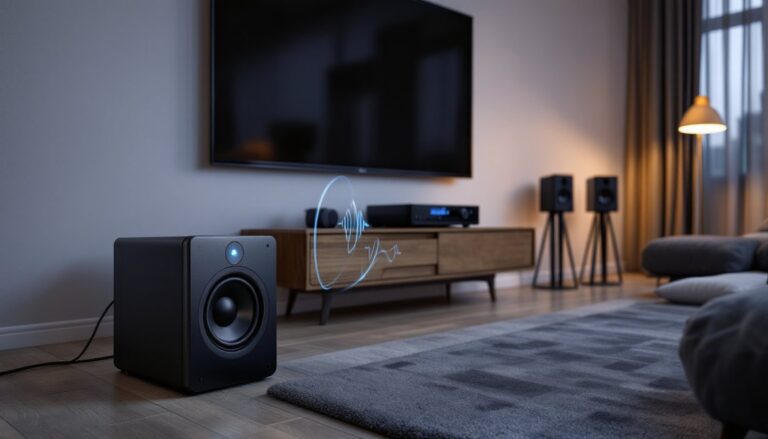
Subwoofers handle low-frequency effects. Sealed designs offer tighter bass, while ported models produce louder output. For rooms under 2,000 cubic feet, a single 10-12 inch sub works: larger spaces benefit from dual subs placed asymmetrically to smooth bass response.
Control systems range from basic universal remotes ($40-100) to whole-home automation platforms like Control4 or Savant ($2,000-5,000+ professionally installed). Mid-range Logitech Harmony remotes ($150-250) handle most needs without custom programming.
DIY vs. Professional Installation: What Seattle Homeowners Should Consider
Component installation breaks into tasks suited for DIY work and those better left to specialists when discussing home service providers.
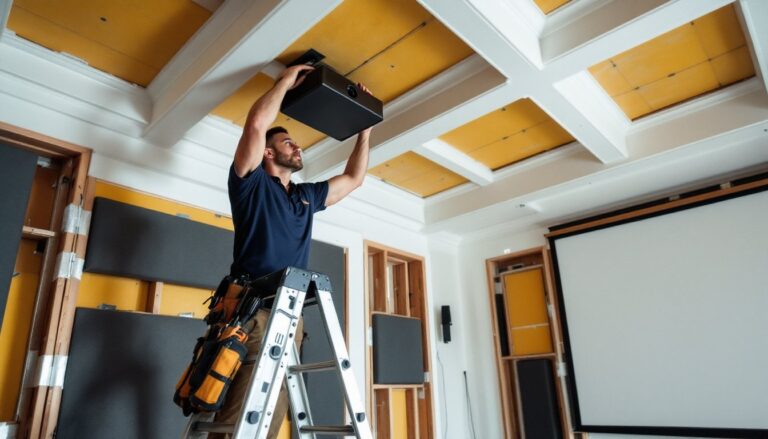
DIYers can handle equipment selection, mounting displays, running speaker wire through open walls or crawlspaces, basic AV receiver configuration, and acoustic panel installation. These tasks require careful measuring and patience but don’t demand specialized certifications.
Consider professionals for in-wall wiring in finished spaces (requires cutting drywall and patching), electrical work adding dedicated 20-amp circuits (code requires licensed electricians in Seattle), complex Atmos calibration, network integration with home automation systems, and custom rack installations.
Permitting requirements in Seattle apply mainly to electrical work. Adding outlets or circuits requires permits and inspection. Low-voltage work (speaker wire, HDMI cables) typically doesn’t require permits, but confirm with the city if structural modifications are involved.
Hybrid approaches work well, homeowners handle planning and equipment purchases while hiring installers for specific tasks. Many professional contractors offer consultation-only services ($150-300) where they assess the space, recommend equipment, and create wiring plans that homeowners execute themselves.
Tool requirements for DIY installations include:
- Stud finder (magnetic or electronic)
- Drill with paddle bits and hole saw kit
- Wire fish tape for running cables
- Laser level for speaker/screen alignment
- Wire strippers and crimpers
- Sound meter or calibration microphone (many receivers include one)
Safety considerations: Always de-energize circuits at the breaker before electrical work. Wear safety glasses when cutting drywall overhead. Use dust masks when cutting insulation or installing acoustic foam. If working in attics, watch for exposed nails protruding through roof sheathing.
Cost Breakdown for Home Theater Installation in Seattle
Budget expectations vary widely based on equipment quality and installation complexity. These figures reflect Seattle-area pricing as of early 2026.
Entry-level systems ($3,000-6,000 total):
- 75-inch 4K TV: $1,200-1,800
- 5.1 receiver and speaker package: $800-1,200
- Universal remote and cables: $100-200
- Basic acoustic treatment: $300-500
- DIY installation labor: $0
Mid-range systems ($8,000-15,000 total):
- 4K projector and 120-inch screen: $2,000-3,500
- 7.1 or Atmos receiver: $1,000-1,500
- In-wall/in-ceiling speaker set: $1,500-3,000
- Dual subwoofers: $800-1,600
- Acoustic panels and bass traps: $800-1,200
- Seating (2-3 theater recliners): $1,500-3,000
- Professional calibration: $400-800
High-end systems ($20,000-50,000+):
- Reference-grade projector: $5,000-12,000
- Acoustically transparent screen: $2,000-4,000
- Premium Atmos system (9.2 or 11.2): $8,000-15,000
- Automation and control systems: $3,000-8,000
- Complete room buildout with treatments: $5,000-12,000
- Professional design and installation: $5,000-10,000
Labor costs in Seattle run $75-150 per hour for AV installation specialists. Full professional installations typically require 20-40 hours depending on complexity.
Material costs fluctuate with copper prices (speaker wire), lumber costs (framing and risers), and global electronics supply chains. Budget an additional 10-15% contingency for these variations through resources like cost estimation tools.
Optimizing Acoustics and Lighting for the Seattle Climate
Seattle’s climate creates specific challenges that affect both sound quality and equipment longevity.
Humidity control protects electronics and prevents acoustic panel deterioration. Maintain 40-50% relative humidity year-round. Seattle’s wet winters can push basement humidity above 60%, promoting mold on fabric-covered panels. Run a dehumidifier during rainy months and ensure proper vapor barriers exist in exterior walls.
Acoustic treatment addresses reflections, standing waves, and sound leakage. Start with these priorities:
- First reflection points: Mount 2-inch thick acoustic panels on side walls at ear height where sound from speakers first bounces
- Bass traps: Place in corners where walls meet ceiling, low frequencies accumulate here
- Rear wall treatment: Diffusers (not absorbers) scatter sound for spaciousness without deadening the room
Pre-made panels cost $80-150 each (24 x 48 inches), or build DIY versions using Owens Corning 703 rigid fiberglass ($50-70 per panel) wrapped in acoustically transparent fabric.
Sound isolation in attached homes requires addressing six pathways: walls, ceiling, floor, doors, HVAC ducts, and electrical boxes. For walls shared with neighbors:
- Add a second layer of ⅝-inch drywall with Green Glue damping compound between layers
- Install resilient channels to decouple drywall from studs
- Fill cavities with R-13 mineral wool insulation
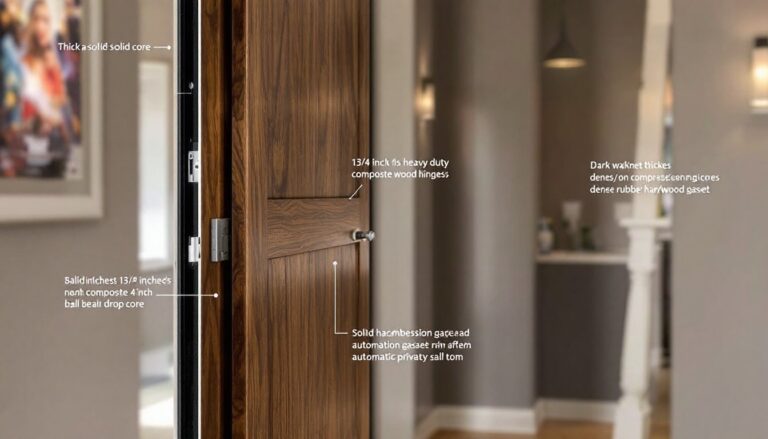
Sealed doors with weatherstripping reduce sound leakage by 15-20 dB compared to standard hollow-core doors.
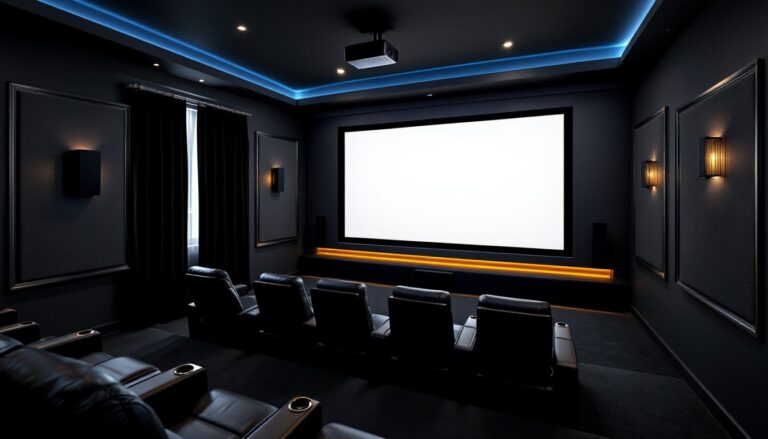
Lighting control eliminates glare and screen reflections. Install dimmable LED fixtures (avoid fluorescents, they cause flicker on camera-based content). Smart switches let users set “movie mode” scenes that dim lights automatically when playback starts. Bias lighting (LED strips behind the screen) reduces eye strain during long viewing sessions without causing reflections.
Window treatments matter even in basement installs with small egress windows. Blackout cellular shades block light while providing insulation value, helpful in Seattle’s variable temperatures. Alternatively, install interior storm window inserts covered with blackout fabric.