Table of Contents
ToggleBuilding a home theater isn’t just about buying a big TV and some speakers. Between routing HDMI cables through walls, calibrating surround sound arrays, and mounting projectors at precise throw distances, there’s a lot that can go wrong. That’s where professional home theater installation services come in. These specialists handle everything from in-wall wiring to acoustic tuning, turning empty rooms into immersive entertainment spaces. Whether you’re installing a simple 5.1 surround system or a full Dolby Atmos setup with motorized screens, understanding what pros bring to the table, and when you actually need them, can save you time, money, and a lot of frustration.
Key Takeaways
- Home theater installation services handle everything from in-wall wiring to acoustic calibration, turning rooms into immersive entertainment spaces by following industry standards like ITU-R BS.775 for speaker placement.
- Professional installation is essential for complex projects involving projector mounting, cable routing through walls, Atmos systems with 7+ channels, and whole-home automation integration that require specialized tools and expertise.
- CEDIA-certified installers bring liability insurance and warranties that DIY projects lack, protecting your investment in high-value equipment while saving you significant time—typically completing in one day what takes DIYers multiple weekends.
- Home theater installation costs range from $1,200 to $15,000+ based on system complexity, room conditions, and geographic location, with detailed quotes breaking down labor, materials, and calibration services.
- Proper audio calibration using SPL meters and room correction software can increase sound quality dramatically by adjusting speaker levels, crossover frequencies, and time-alignment for simultaneous sound arrival.
- Hiring qualified professionals for video display and projector setup ensures correct throw distance calculations and mounting to joists, preventing costly mistakes with expensive equipment while achieving industry-standard color calibration.
What Is a Home Theater Installation Service?
A home theater installation service handles the planning, setup, and calibration of audio-visual equipment in residential spaces. This isn’t your average TV mounting job. Professional installers assess room acoustics, plan cable runs behind walls, integrate smart home controls, and fine-tune every component for optimal performance.
These services typically cover pre-wiring during construction or remodeling, equipment selection consultation, physical installation of displays and speakers, network integration for streaming devices, and post-installation calibration. Many installers are CEDIA (Custom Electronic Design & Installation Association) certified, meaning they’ve completed training in home technology integration and follow industry standards.
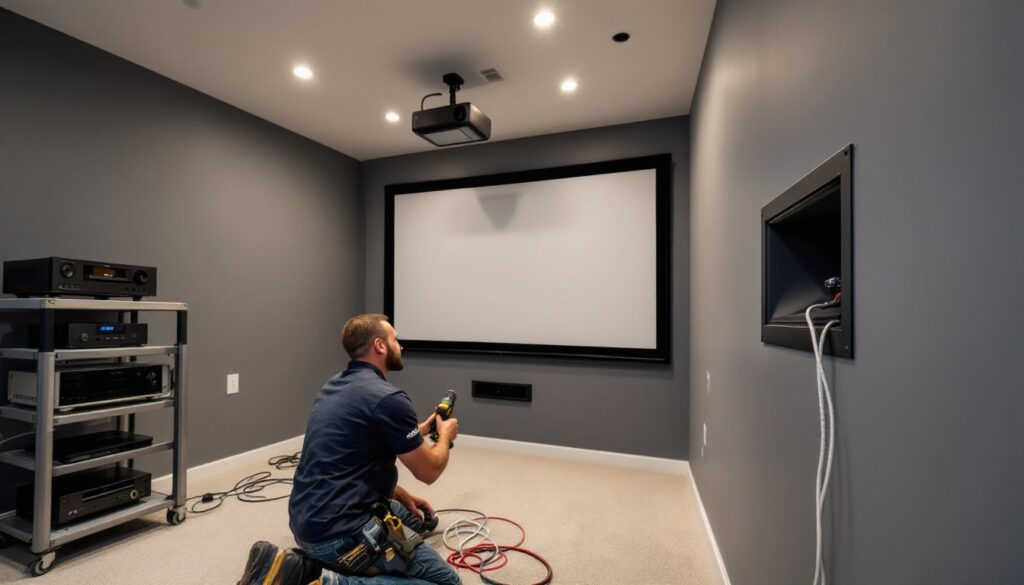
The scope varies widely. Some homeowners hire pros just for the technical heavy lifting, like fishing speaker wire through finished walls or ceiling-mounting a projector, while handling component connections themselves. Others want full white-glove service, from design consultation through final remote programming. Most installers offer tiered packages: basic installation (mounting and connections), standard setup (includes calibration and basic automation), and premium integration (whole-home control systems, acoustic treatments, custom seating).
One key advantage: professionals carry liability insurance and often provide warranties on both labor and equipment. If something breaks during installation or doesn’t perform as expected, you’re covered. That peace of mind alone can justify the expense for complex or high-value systems.
Key Components Professionals Install in Your Home Theater
Audio Equipment and Surround Sound Systems
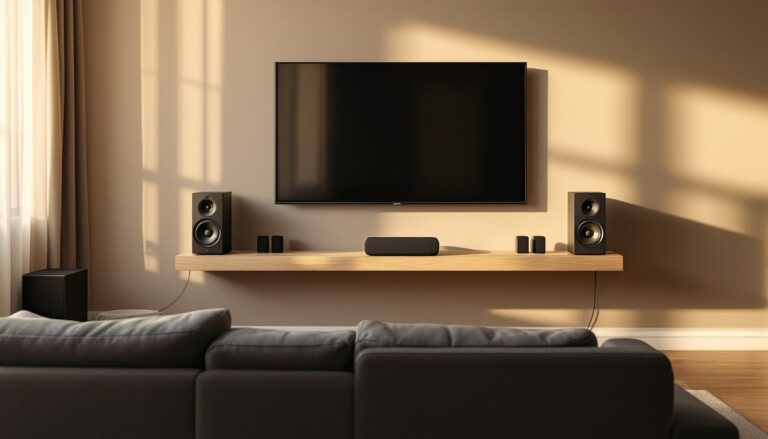
Surround sound is where professional installation really shines. A basic 5.1 channel system includes five speakers (left, center, right, and two surrounds) plus a subwoofer. Stepping up to 7.1 or 7.2 configurations adds rear surround channels. Dolby Atmos systems add ceiling or upward-firing speakers for height channels, these can run 5.1.2, 7.1.4, or even 9.2.4 in dedicated theater rooms.
Installers handle speaker placement according to ITU-R BS.775 standards (the international spec for multichannel audio positioning). They’ll measure listening distances, set speaker angles, and mount surrounds at the correct height, typically 2-3 feet above ear level for side surrounds. In-wall and in-ceiling speakers require cutting drywall, running wire through studs or joists, and ensuring placements don’t hit electrical lines or HVAC ducts.
The AV receiver acts as the system’s brain, and pros will calibrate it using tools like SPL meters or built-in room correction software (Audyssey, Dirac Live, YPAO). They’ll set crossover frequencies, adjust speaker levels to within 0.5 dB, configure bass management, and time-align channels so sound from all speakers reaches the listener simultaneously. This process can take 2-4 hours for complex systems and makes a massive difference in sound quality.
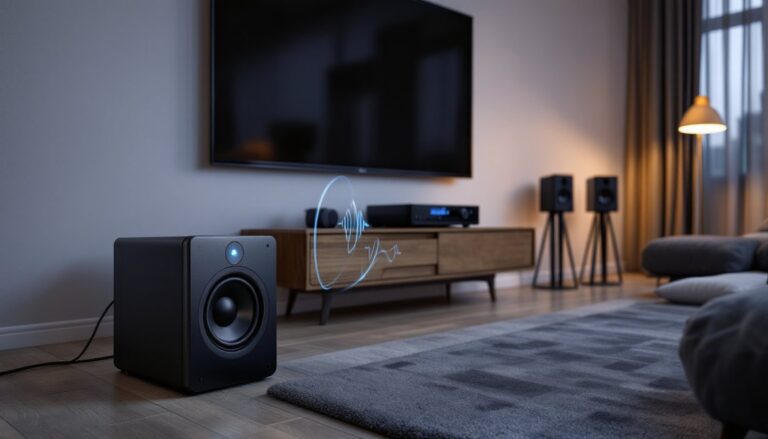
Subwoofer placement is both art and science. Professionals often use the “subwoofer crawl” technique or measurement tools to find positions that minimize room modes, those boomy or dead spots caused by standing waves. Dual subwoofers, increasingly common in quality setups, require careful level matching and phase alignment.
Video Display and Projection Setup
Video installation involves more than just hanging a screen on the wall. For flat-panel displays, installers locate studs, use appropriate mounts (fixed, tilting, or full-motion articulating arms), and ensure the center of the screen sits at or slightly below seated eye level. They’ll also conceal cables using in-wall rated CL2 or CL3 HDMI cables that meet NEC Article 725 requirements for fire safety, or install conduit for future upgrades.
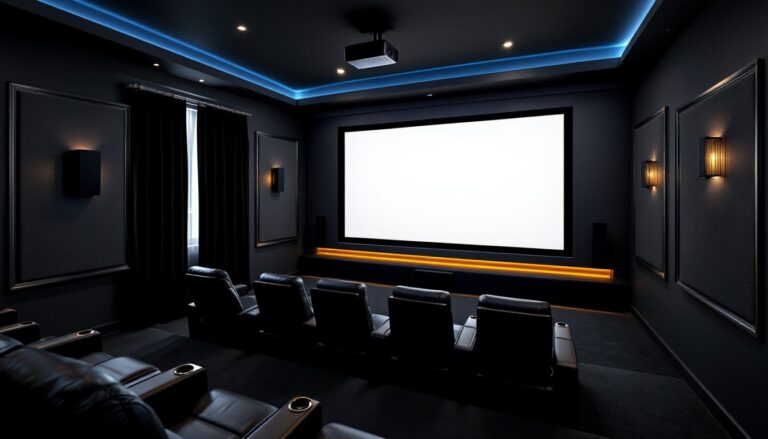
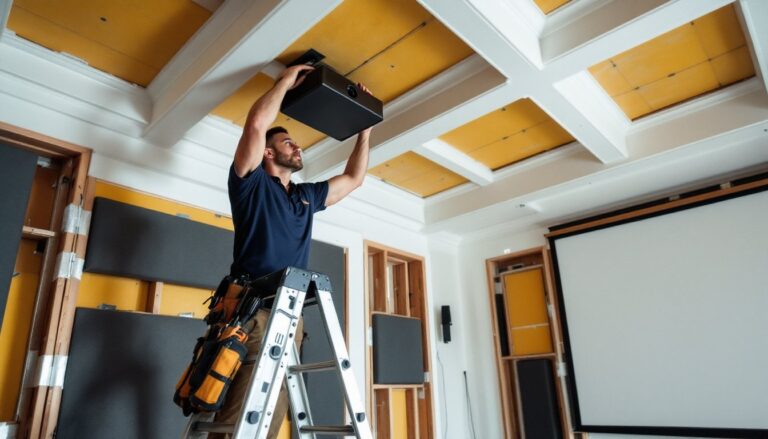
Projector installations are more complex. Pros calculate throw distance (the distance from projector lens to screen) based on lens specifications and screen size. A 100-inch diagonal 16:9 screen might need a throw distance of 10-15 feet depending on the projector’s throw ratio. Ceiling mounts must attach to joists or blocking, not just drywall, and include provisions for cable management. Many installers add an electrical outlet at the mounting location to avoid visible power cords.
Screen selection matters too. Fixed-frame screens provide the flattest surface and best image quality. Motorized screens disappear when not in use but cost significantly more. Screen gain (reflectivity) should match room lighting, higher gain (1.3-1.5) for rooms with ambient light, unity gain (1.0) for dedicated dark theaters.
Professionals will also calibrate display settings using colorimeters and software like CalMAN or DisplayCAL, adjusting color temperature, gamma curves, and white balance to industry standards. This level of calibration goes far beyond the factory “cinema” mode and reveals detail and color accuracy most people never see from their equipment. Services like ImproveNet can help homeowners estimate costs and find qualified professionals for complex installations.
When to Hire a Professional vs. DIY Installation
DIY makes sense for simple setups: soundbars, plug-and-play 5.1 systems with speaker stands, and TVs under 55 inches mounted to exposed studs. If all your gear sits in an entertainment center and connections are straightforward, HDMI from source to receiver to TV, you can probably handle it yourself with basic hand tools and patience.
Hire a pro when the project involves:
Running cables through walls or ceilings. This requires knowledge of building codes, proper cable types (in-wall rated vs. standard), and techniques for fishing wire without damaging insulation or hitting existing utilities. In most jurisdictions, low-voltage wiring doesn’t require permits, but you still need to follow NEC Article 725 and keep low-voltage runs away from electrical lines to prevent interference.
In-wall or in-ceiling speaker installation. Cutting into finished drywall isn’t hard, but knowing where you can’t cut, load-bearing headers, fire blocking, plumbing, requires experience. You also need to hit studs or joists for secure mounting brackets.
Projector mounting and screen installation. Getting throw distance, screen height, and lens offset right requires precision. Ceiling mounts on vaulted or tray ceilings add another layer of complexity. Mismounting a $2,000+ projector is an expensive mistake.
Systems with 7+ channels or Atmos configurations. Calibrating these systems properly requires measurement tools and acoustic knowledge. Without proper setup, you’re leaving performance, and money, on the table.
Integration with whole-home automation. If you want your theater to talk to smart lighting, motorized shades, or multi-room audio, professional programming is nearly essential. Control systems from companies like Control4, Crestron, or Savant require dealer installation and programming.
High-value equipment. If you’re installing $10,000+ worth of gear, professional installation often includes extended warranties and insurance coverage that DIY doesn’t provide.
One often-overlooked factor: time. A professional crew can complete in one day what might take a motivated DIYer a full weekend or multiple weekends. If your time has value, the labor cost often pencils out. Platforms like HomeAdvisor provide detailed cost breakdowns and can match homeowners with vetted installation professionals in their area.
How to Choose the Right Home Theater Installation Service
Start by checking credentials. CEDIA certification indicates the installer has completed training in home technology integration and stays current with industry standards. Ask if technicians are certified specifically in the brands you’re installing, many manufacturers (Sonos, KEF, Klipsch) offer installer training programs.
Get at least three quotes, but don’t automatically choose the lowest bid. Detailed quotes should break down labor, materials, travel charges, and any subcontractor costs. Be wary of estimates that seem vague or lump everything into a single line item. Ask what’s included: does the price cover calibration, or just physical installation? Who supplies cables and mounts, you or them?
Check insurance and licensing. At minimum, installers should carry general liability insurance (covers property damage) and workers’ compensation (covers installer injuries). If they’re doing any electrical work beyond low-voltage connections, they should be licensed electricians or work with one. Some states require low-voltage licensing: verify local requirements.
Ask for references or photos of completed installs, particularly projects similar to yours in scope and budget. A company that excels at mounting soundbars might not have experience with complex Atmos systems or acoustic room treatments. Look for reviews on contractor matching platforms that verify project details and customer satisfaction.
Inquire about warranties. Labor warranties typically run 1-2 years: equipment warranties depend on manufacturer terms but pros often help claims. Ask what happens if something stops working three months after installation, will they come back at no charge?
Discuss the project timeline and what prep work you need to complete beforehand. If you’re building or remodeling, pre-wire installation happens after framing but before drywall. Equipment installation comes after painting and flooring. Clear communication about sequencing prevents delays and extra charges.
Finally, make sure personalities mesh. You’ll be working closely with these folks, often in your home for multiple days. Professional communication, punctuality for estimates, and willingness to explain technical decisions in plain language are green flags.
Average Costs and What Affects Your Installation Price
As of 2026, professional home theater installation typically ranges from $1,200 to $8,000+ depending on system complexity and regional labor rates. Here’s how costs typically break down:
Basic installation ($1,200-$2,500): TV mounting with in-wall cable concealment, soundbar or simple 5.1 system setup, and basic calibration. Usually takes 4-6 hours.
Standard setup ($2,500-$5,000): In-ceiling or in-wall speaker installation for a 5.1 or 7.1 system, AV receiver configuration, projector and screen installation, room calibration, and universal remote programming. Expect 1-2 days of work.
Premium integration ($5,000-$15,000+): Atmos systems with 9+ channels, acoustic treatments (panels, bass traps), custom seating and risers, whole-home control integration, network wiring for 4K streaming, and professional acoustic measurement and tuning. Large projects can take a week or more.
Several factors push costs higher:
Room conditions: Finished rooms cost more than pre-wire during construction because installers must fish wire through existing walls. Concrete or brick construction adds significant labor. Vaulted ceilings, multiple stories, or attic access issues all increase time and difficulty.
Wire runs: Each in-wall speaker wire run costs $50-$150 depending on length and wall complexity. A 7.1.4 Atmos system might need 11+ wire runs from receiver to speakers.
Equipment complexity: Basic AV receivers are straightforward. High-end processors with Dirac Live room correction or multi-zone audio require advanced calibration skills and more time.
Custom work: Building speaker soffits, equipment racks, or riser platforms: installing acoustic treatments: or integrating motorized components all add to the bill.
Geographic location: Labor rates vary significantly. Expect to pay 30-50% more in major metro areas compared to smaller markets.
Travel charges: Some installers charge mileage or travel time for jobs outside their service area.
One cost-saving tip: purchase equipment yourself if you’re confident in your selections. Installers typically mark up gear 10-30%. But, buying through the installer often includes benefits like extended warranties, free service calls, and guaranteed compatibility. Weigh those factors carefully.
Don’t forget ongoing costs. Complex systems may benefit from annual recalibration as speakers settle or room furnishings change. Service contracts typically run $200-$500 annually and include priority scheduling, discounted service calls, and sometimes system updates or additions at reduced rates.
Budget 10-15% more than quoted estimates for unexpected issues, older homes especially can hide surprises like unexpected blocking, asbestos-wrapped pipes, or electrical panels that need upgrading to support new circuits.