Table of Contents
ToggleBuilding a home theater in Minneapolis isn’t just about mounting a TV and calling it a day. It’s about transforming a space into an immersive entertainment hub where movie nights, gaming sessions, and sporting events become genuine experiences. Whether someone’s converting a basement, repurposing a spare bedroom, or finishing an attic, the combination of Minnesota’s long winters and a well-designed home theater creates a retreat homeowners will actually use year-round. This guide walks through everything from planning and equipment to permits and budgets, helping Minneapolis homeowners make informed decisions without the guesswork.
Key Takeaways
- A home theater installation in Minneapolis adds functional value to your home and provides year-round entertainment during long winters, particularly in basements that naturally support 7-8 foot ceiling heights.
- Proper room planning—choosing spaces at least 12 feet wide by 15 feet deep with the right length-to-width ratio and acoustic treatments like carpet and insulation—ensures an immersive experience without audio or visual issues.
- Most Minneapolis homeowners benefit from a hybrid approach: handle DIY mounting and equipment setup yourself, but hire licensed professionals for in-wall wiring, electrical circuits, and calibration to meet building codes.
- Budget realistically across three tiers ($2,000-$5,000 for basic setups, $8,000-$15,000 for mid-range, or $20,000+ for high-end installations), and research Minneapolis contractors thoroughly using verified project reviews.
- Minneapolis building codes require permits for electrical work and basement finishing, but not for TV mounting or equipment placement—always consult the city’s inspections department when in doubt.
- Save money without compromising quality by DIYing room prep, starting with a 5.1 speaker system and upgrading later, shopping refurbished equipment, and timing purchases around holiday sales.
Why Minneapolis Homeowners Are Investing in Home Theaters
The Minneapolis housing market has seen steady investment in entertainment spaces over the past few years, and it makes sense. When outdoor activities take a backseat from November through March, homeowners want spaces that keep families entertained indoors.
Home theaters add functional square footage without expanding a footprint. A finished basement with dedicated theater space increases home value, buyers in the Twin Cities market consistently prioritize finished lower levels. Unlike cosmetic upgrades that go out of style, a well-executed theater room offers utility that transcends trends.
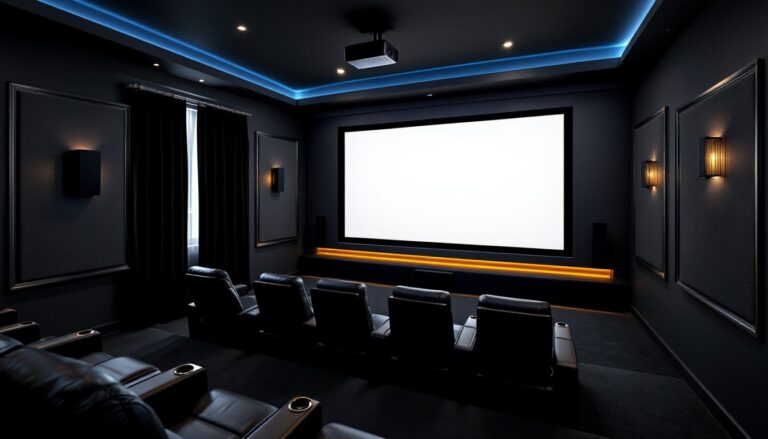
Minneapolis homes, particularly those built between the 1950s and 1980s, often have basements or bonus rooms with dimensions that naturally accommodate theater layouts. The typical basement ceiling height of 7 to 8 feet works fine for projection or large-format displays, and the below-grade location provides natural sound isolation from main living areas.
Homeowners also cite the social aspect. A dedicated theater beats crowding around a living room TV for game days or family movie nights. The investment pays dividends in use, not just resale.
Planning Your Home Theater Installation: Key Considerations
Planning determines whether a home theater becomes a showpiece or a regrettable money pit. Start by assessing the space honestly, not every room suits theater use.
Choosing the Right Room and Layout
Room dimensions matter more than most people think. A space that’s too small creates cramped sightlines: too large and the audio feels scattered. The ideal room measures at least 12 feet wide by 15 feet deep, with 8-foot ceilings minimum. Rectangular rooms work better than square ones, aim for a length-to-width ratio between 1.4:1 and 2.4:1 to minimize audio standing waves.
Ambient light control is critical. Basements naturally limit daylight intrusion, but if using a main-floor room, plan for blackout shades or heavy curtains. Even a small amount of light wash degrades picture quality on projectors and high-end displays.
Acoustics start with the room itself. Hardwood floors, drywall, and large windows create echo and muddiness. Carpet or area rugs, upholstered seating, and even a few soft furnishings improve sound quality before adding acoustic panels. If building out a space, consider using Roxul Safe’n’Sound insulation between studs, it’s designed for sound dampening and fits standard 2×4 framing.
Electrical planning should happen early. A proper theater needs multiple dedicated circuits: one for display/projection, one for amplification and processing, and at least one for accessories (media players, gaming consoles, lighting controls). Run 14-gauge or 12-gauge Romex depending on load. If mounting equipment in a rack or running HDMI over long distances (20+ feet), consider conduit runs for future cable upgrades.
Seating placement follows the screen. For a 100-inch diagonal screen, viewers should sit 8 to 13 feet back. For a 75-inch display, 6 to 10 feet is the sweet spot. Elevated rear seating (a simple riser built from 2x4s and ¾-inch plywood) improves sightlines when seating more than one row.
DIY vs. Professional Installation: What Minneapolis Homeowners Should Know
The DIY vs. professional decision hinges on skills, time, and scope. Mounting a TV and connecting a soundbar? Totally DIY. Running in-wall wiring, building custom seating risers, and integrating multi-zone audio? That’s where professionals earn their keep.
What most DIYers can handle:
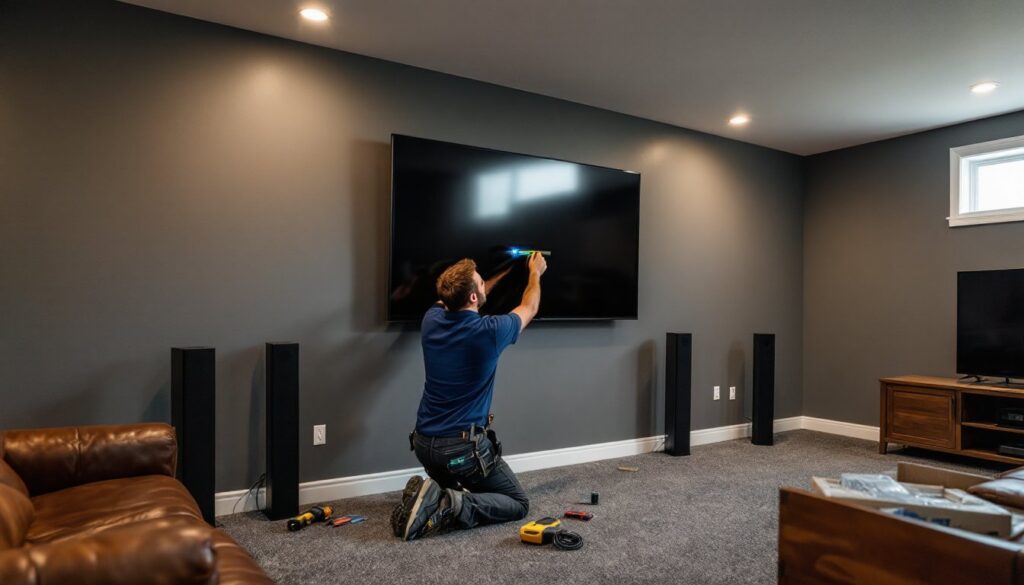
- Mounting flat-panel TVs on studs using lag bolts and a tilting or fixed mount (Sanus and Echogear make solid, affordable options)
- Connecting HDMI cables, soundbars, and streaming devices
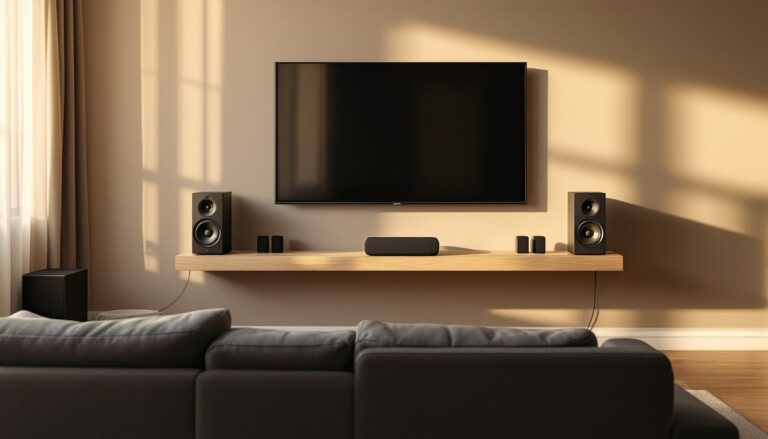
- Positioning floor-standing or bookshelf speakers
- Installing basic LED bias lighting behind displays
- Painting walls with low-reflectance paint (darker colors reduce glare)
What usually requires a pro:
- In-wall or in-ceiling speaker installation (requires running wire through finished walls and cutting clean openings)
- Custom acoustic treatment design and installation
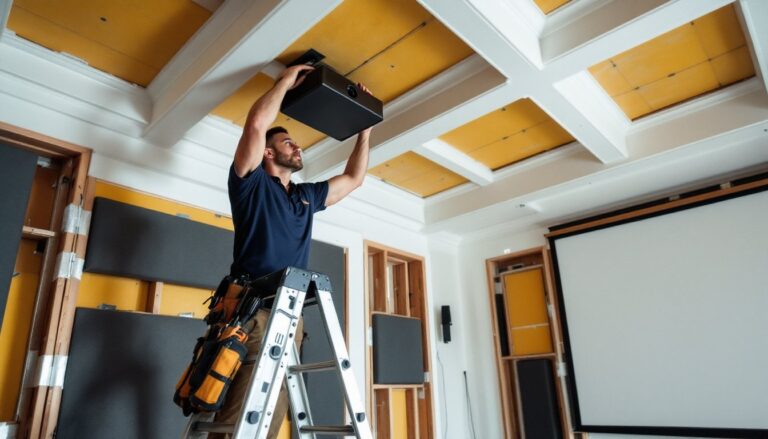
- Ceiling-mounted projectors with proper alignment and screen tensioning
- Integrated control systems (Crestron, Control4, Savant) that unify lighting, audio, video, and HVAC
- Electrical work beyond plugging in components, Minneapolis requires a licensed electrician for most hardwired work
Tool considerations: A basic home theater DIY setup needs a stud finder (magnetic or electronic), drill/driver, level (4-foot for alignment), tape measure, wire strippers, and a voltage tester. If cutting drywall for recessed speakers, add a drywall saw and a keyhole saw for tight spots. For projector installs, a laser level ensures the mount stays true across a long ceiling span.
Minneapolis has several established home theater installers with solid track records. Getting a consultation costs little and helps homeowners understand what they’re actually taking on. Many find a hybrid approach works best, DIY the room prep and equipment placement, hire out the wiring and calibration. When researching contractors, checking detailed reviews on platforms that verify completed projects helps separate experienced installers from those learning on the job.
Essential Equipment for Your Minneapolis Home Theater
Equipment selection separates a functional theater from a frustrating one. Start with the display, build outward.
Display options:
- Large-format TVs (75-85 inches): OLED panels (LG, Sony) deliver exceptional contrast and color but cost more. QLED options (Samsung, TCL) offer brightness and value. For a basement with controlled light, OLED shines. For spaces with ambient light, QLED holds up better.
- Projectors: A solid entry-level 1080p LCD projector (Epson, BenQ) runs $600-$1,200. For true home theater quality, look at 4K models with HDR support ($1,500-$3,000). Projectors require a dedicated screen, fixed-frame screens maintain tension and flatness better than pull-downs.
Audio systems:
- Soundbars work for casual setups but lack the depth of discrete speakers.
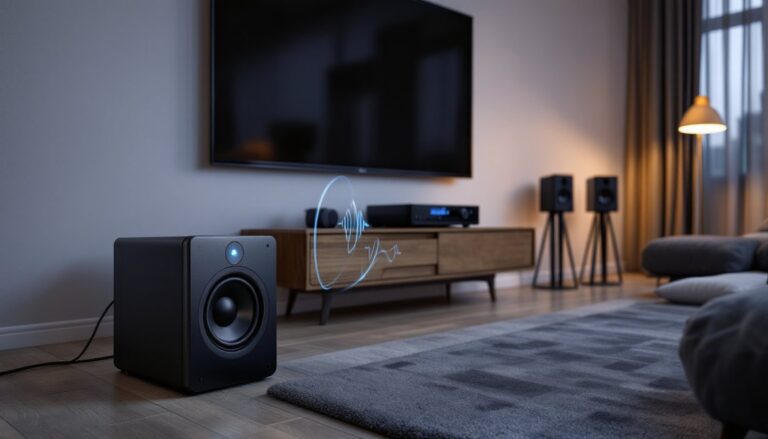
- 5.1 surround systems (five speakers plus subwoofer) represent the baseline for immersive audio. Brands like Klipsch, SVS, and KEF offer solid performance across price points.
- 7.1 or Atmos systems add overhead or height channels for spatial audio. Atmos makes a noticeable difference in larger rooms but requires compatible receivers and content.
- AV receivers power everything. Look for models supporting HDMI 2.1, 4K/120Hz (for gaming), and enough channels for the speaker layout. Denon and Yamaha dominate the mid-range ($400-$800).
Accessories and infrastructure:
- HDMI cables: Certified Premium High Speed or Ultra High Speed cables handle 4K and HDR without dropouts. For runs over 15 feet, consider active HDMI cables or fiber-optic models.
- Power conditioning: A basic surge protector is fine for most setups. For high-end equipment, a line conditioner stabilizes voltage and reduces noise.
- Streaming devices: Apple TV 4K, Nvidia Shield, or Roku Ultra cover most content needs. Built-in TV apps work but often lag in updates and performance.
- Seating: Theater seating doesn’t require specialty recliners. Standard couches work fine, but if building a riser, consider home theater seats with cup holders and USB charging ports. They’re surprisingly affordable at around $300-$600 per seat.
Safety note: When wall-mounting heavy displays or speakers, always anchor into studs with appropriate lag bolts. Drywall anchors aren’t sufficient for anything over 30 pounds. Wear safety goggles when drilling overhead, and use a dust mask if cutting drywall or insulation.
Navigating Minneapolis Building Codes and Permits
Minneapolis follows the Minnesota State Building Code, which adopts the International Residential Code (IRC) with state amendments. Most cosmetic home theater work, mounting equipment, painting, furnishing, doesn’t require permits. Electrical and structural work does.
When permits are required:
- Adding or modifying electrical circuits (must be performed by a licensed electrician or homeowner pulling their own permit)
- Installing new light fixtures hardwired into the electrical system
- Building structural elements like seating risers that attach to floor joists
- Finishing previously unfinished basement space (triggers egress, ceiling height, and electrical requirements)
When permits typically aren’t required:
- Mounting TVs or speakers to existing walls
- Plugging in equipment to existing outlets
- Painting, carpeting, or adding furniture
- Installing freestanding equipment racks or media consoles
Finishing a basement for theater use triggers the most code scrutiny. Minneapolis requires:
- Minimum ceiling height of 7 feet (6 feet 8 inches acceptable under beams or ducts if less than 50% of room area)
- Egress windows in habitable basement rooms (minimum 5.7 square feet of opening, 24-inch minimum height, 20-inch minimum width, sill height no more than 44 inches above floor)
- Smoke and CO detectors on every level
- GFCI protection on outlets within 6 feet of sinks or wet bars
Electrical work must follow the National Electrical Code (NEC). For home theaters, that means:
- Dedicated 15- or 20-amp circuits for high-draw equipment
- Proper wire gauge (14-gauge minimum for 15-amp, 12-gauge for 20-amp)
- Arc-fault circuit interrupter (AFCI) protection on bedroom circuits (if the theater is in a bedroom)
Permit applications go through the city of Minneapolis online portal or in person. Electrical permits cost roughly $50-$150 depending on scope. Inspections follow completion, don’t close up walls until the inspector signs off.
If the project involves just mounting equipment and connecting cables, permits aren’t an issue. When in doubt, call the city’s inspections department (they’re surprisingly helpful) or consult HomeAdvisor for guidance on local requirements.
Budgeting Your Home Theater Project: Costs and Financing Options
Home theater costs range wildly based on equipment quality, room prep, and whether labor’s DIY or contracted. Breaking costs into tiers helps set realistic expectations.
Budget tier ($2,000-$5,000):
- 65-75 inch mid-range TV ($600-$1,200)
- 5.1 soundbar system or budget discrete speakers ($400-$800)
- AV receiver ($300-$500)
- Streaming devices and cables ($200)
- Basic seating (existing furniture or budget recliners, $500-$1,000)
- DIY room prep (paint, light control, $200-$500)
Mid-range tier ($8,000-$15,000):
- 75-85 inch OLED/QLED TV or entry 4K projector plus screen ($2,000-$4,000)
- 5.1 or 7.1 discrete speaker system ($1,500-$3,000)
- Mid-tier AV receiver ($500-$800)
- Theater seating (two rows, 4-6 seats, $1,500-$3,000)
- Professional electrical work (dedicated circuits, in-wall wiring, $1,500-$2,500)
- Acoustic treatment and décor ($1,000-$2,000)
High-end tier ($20,000-$50,000+):
- High-performance 4K projector and motorized screen ($5,000-$12,000)
- Atmos-enabled speaker system with in-wall/in-ceiling installation ($5,000-$10,000)
- Premium AV receiver or separates ($2,000-$5,000)
- Custom seating with risers ($4,000-$8,000)
- Full room build-out (framing, insulation, electrical, acoustic design, $10,000-$20,000)
- Integrated control system ($3,000-$8,000)
These numbers reflect Minneapolis market conditions as of 2026. Labor rates for licensed electricians run $75-$125 per hour. Home theater installation specialists charge $100-$150 per hour or offer package pricing. Material costs vary, lumber, drywall, and electronics all fluctuate with supply chains.
Financing options:
Many homeowners fold theater projects into home equity lines of credit (HELOCs), which offer lower interest rates than personal loans. For smaller projects, 0% APR credit cards work if the balance can be paid within the promotional period. Some specialty electronics retailers offer financing through Synchrony or similar programs.
For cost estimation and contractor matching, resources like ImproveNet provide localized data that accounts for regional labor and material rates. Getting multiple quotes remains the best way to validate budgets, aim for at least three estimates on any contracted work over $2,000.
Money-saving tips without sacrificing quality:
- Buy refurbished or previous-generation displays and receivers (performance differences between model years are often minimal)
- DIY the room prep, painting, cleaning, and organizing saves hundreds in labor
- Start with a 5.1 system and expand to Atmos later (most receivers support upgrades)
- Use paintable acoustic panels instead of custom fabric-wrapped treatments
- Shop Black Friday, Cyber Monday, and Super Bowl season for TV and audio deals