Table of Contents
ToggleSetting up a home theater speaker system isn’t rocket science, but it does require understanding a few core principles about sound, space, and speaker placement. Get it right and you’ll enjoy immersive audio that rivals commercial cinemas. Rush through it and you’ll end up with muddy dialogue and sound effects that seem to come from nowhere in particular. This guide walks through speaker configurations, placement strategies, wiring basics, and calibration techniques that transform a room full of gear into a properly tuned home theater. Whether you’re working with a modest 5.1 setup or a full Dolby Atmos configuration, these fundamentals apply.
Key Takeaways
- A proper home theater speaker setup follows standard configurations (5.1, 7.1, or Dolby Atmos) with specific speaker placement guidelines that transform immersive audio quality from mediocre to cinema-rivaling performance.
- Home theater speaker systems require timbre matching across all channels—buying speakers from the same manufacturer’s product line ensures smooth sound panning and consistent tonal characteristics.
- Optimal speaker placement follows decades of acoustic research: position front speakers at 45-60 degrees from the listening position with tweeters at seated ear height (36-42 inches), and keep the center channel directly above or below the screen.
- Subwoofer placement should be determined by the ‘subwoofer crawl’ test, and dual subwoofers positioned asymmetrically deliver smoother bass response than a single unit in corner placement.
- Home theater speaker calibration requires using an SPL meter to set each speaker to 75 dB at the listening position, verifying speaker distances, and adjusting phase and trim levels for optimal sound quality.
- Room acoustics through absorption, diffusion, and bass traps significantly impact home theater speaker performance more than equipment cost alone, requiring recalibration after any major repositioning.
Understanding Home Theater Speaker Configurations
Home theater systems follow a standard numbering format: X.Y.Z, where X is the number of full-range speakers, Y is the number of subwoofers, and Z (when present) indicates height or overhead speakers.
A 5.1 system includes five speakers (left, center, right, left surround, right surround) plus one subwoofer. It’s the minimum for true surround sound and works well in most living rooms. A 7.1 setup adds two rear surround speakers for better envelopment in larger spaces.
Dolby Atmos and DTS:X systems add height channels for three-dimensional sound. These use the Z number, a 5.1.2 system has five ear-level speakers, one subwoofer, and two height speakers (usually ceiling-mounted or upward-firing modules). A 7.1.4 configuration adds four height channels for more precise overhead effects.
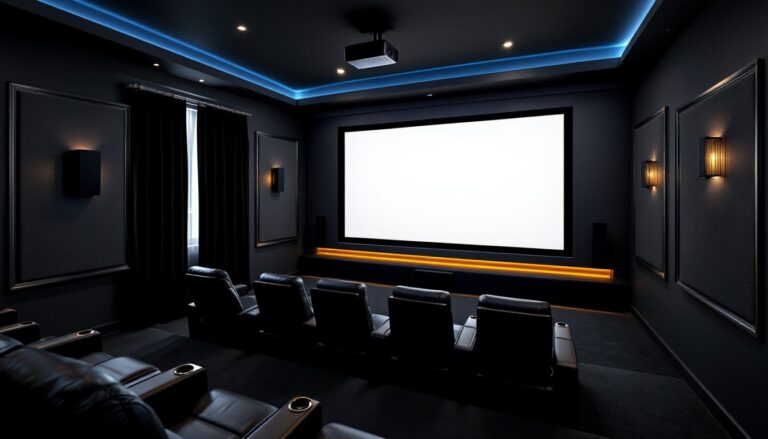
For rooms under 150 square feet, a 5.1 system delivers excellent results. Rooms between 150-300 square feet benefit from 7.1 configurations. Atmos makes sense when ceiling heights are at least 8 feet and you can position speakers overhead without major structural work.
The center channel handles roughly 60% of a movie’s soundtrack, primarily dialogue. The left and right fronts carry music and ambient effects. Surrounds create spatial cues and immersion. The subwoofer reproduces low-frequency effects below 80Hz, explosions, rumble, and bass-heavy music. Height speakers add overhead dimension for rain, helicopters, or objects moving through vertical space.
Choosing the Right Speakers for Your Space
Timbre matching is critical, when speakers across your system share similar tonal characteristics, sound pans smoothly from one channel to another. Mixing brands often creates audible mismatches. Buy all speakers from the same manufacturer’s product line when possible.
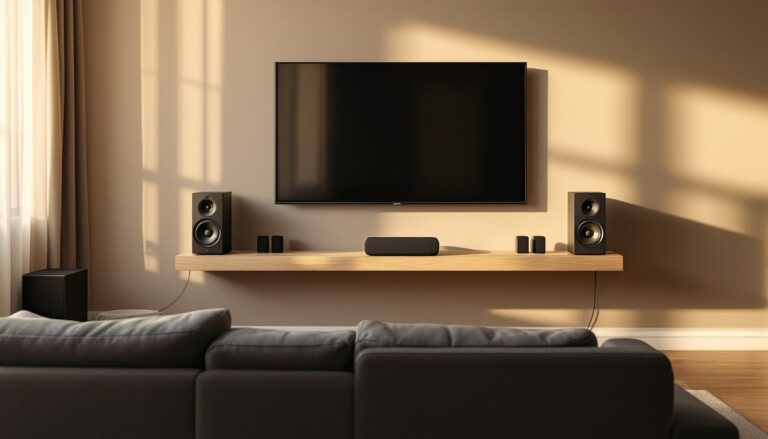
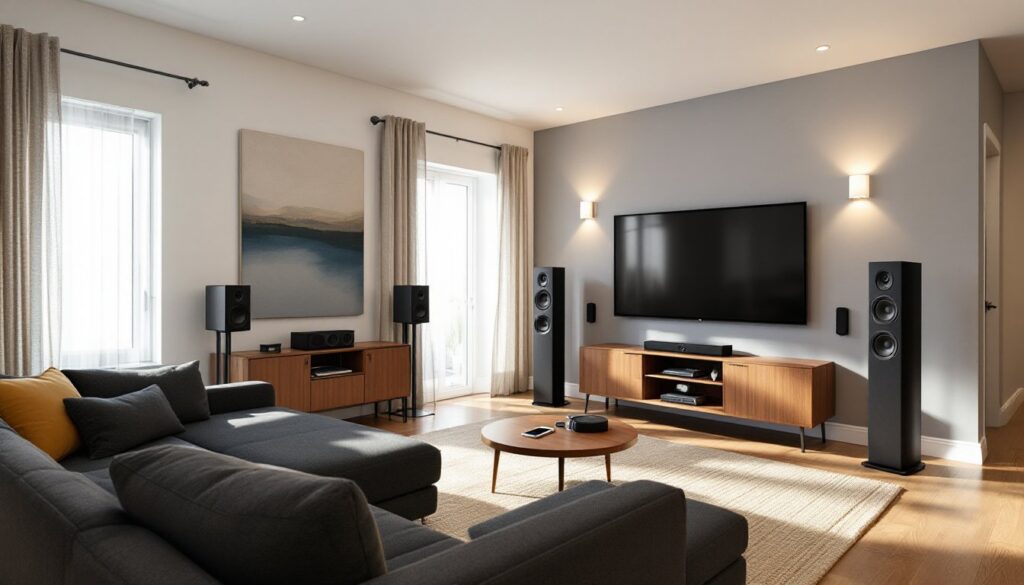
Floor-standing towers work well as front left/right speakers in dedicated theater rooms or larger spaces. They typically include multiple drivers and don’t require stands. Bookshelf speakers mounted on stands or wall-brackets suit smaller rooms and integrate more easily into living spaces. They need a solid subwoofer to fill in low-end response.
Center channels come in horizontal configurations designed to sit above or below a screen. Look for models with dual woofers flanking a central tweeter, this arrangement minimizes off-axis coloration when listeners sit to the side of the sweet spot.
For surrounds, dipole speakers radiate sound from front and rear surfaces simultaneously, creating diffuse effects ideal for side-wall mounting in 5.1 systems. Monopole (direct-radiating) speakers work better for Atmos configurations and 7.1 setups where precise localization matters.
In-ceiling speakers provide the cleanest height channel installation if you can access the ceiling cavity. They require cutting drywall and running wire through joists. Upward-firing modules that sit atop front or surround speakers bounce sound off the ceiling, they work adequately with flat ceilings at least 8 feet high and non-textured surfaces.
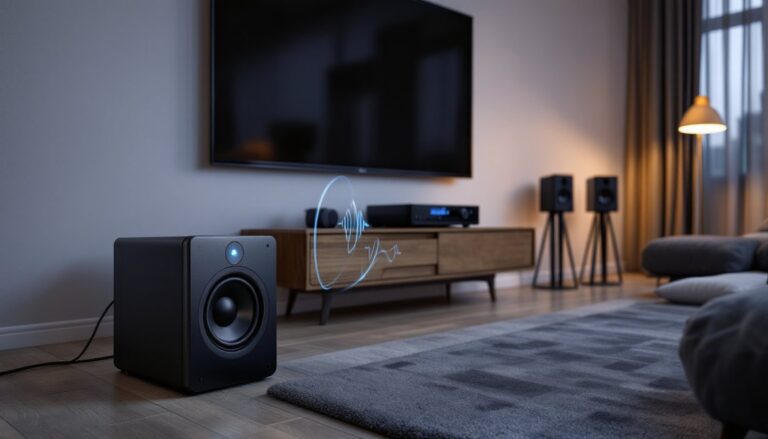
Subwoofer placement affects bass distribution significantly. Sealed subwoofers offer tighter, more controlled bass. Ported designs move more air and dig deeper but require proper tuning. For rooms over 200 square feet, consider dual subwoofers positioned asymmetrically to smooth out room modes and standing waves.
Optimal Speaker Placement for Each Channel
Speaker positioning follows established guidelines based on decades of acoustic research and industry standards like those from THX-certified setups, though every room has unique characteristics.
Front Speakers and Center Channel Positioning
Front left and right speakers should form a 45-60 degree angle from the primary listening position. Measure from your main seat, if speakers are 10 feet from the listener, they should be roughly 8-10 feet apart from each other. Toe them in slightly (angling toward the listening position by 10-15 degrees) to improve imaging and reduce side-wall reflections.
Position tweeters at ear height when seated, typically 36-42 inches off the floor. If using floor-standing towers with elevated tweeters, this happens naturally. Bookshelf speakers need stands that bring the tweeter to the correct height. Tilting speakers up or down more than 5 degrees degrades sound quality.
The center channel belongs directly above or below the screen, as close to screen center as possible. If placing below, tilt it upward so the tweeter aims at seated ear height. If above, tilt downward. Keep the center within 2 feet vertically of the left/right tweeters to maintain a cohesive front soundstage.
Pull front speakers at least 2 feet from the front wall to reduce boundary reinforcement that causes boomy bass. Corner placement amplifies bass even more, useful for underpowered speakers but generally creates uneven frequency response.
Surround and Height Speaker Placement
In 5.1 systems, side surrounds mount 90-110 degrees from center (roughly beside or slightly behind the listening position) at 2-3 feet above ear level. This elevation creates ambient sound that doesn’t distract from the front soundstage.
For 7.1 configurations, side surrounds go at 90 degrees and rear surrounds at 135-150 degrees. Keep all surrounds at the same height. Asymmetrical rooms require compromise, prioritize angle over exact distance matching.
Height speakers for Atmos work best when positioned directly above or slightly in front of the listening position. In a 5.1.2 setup, place them 2-4 feet forward of the seating area. For 5.1.4 or 7.1.4, add rear heights behind the seating zone at similar spacing. Maintain at least 3 feet separation between adjacent height speakers.
If in-ceiling installation isn’t feasible, mount height speakers high on the front and rear walls (within 2 feet of the ceiling) angled toward the center of the room. This approximates overhead sound reasonably well.
Subwoofer placement requires experimentation due to room modes. Start with the “subwoofer crawl”: place the sub in your main seat, play bass-heavy content, and crawl around the room’s perimeter listening for the spot with smoothest, most impactful bass. That’s where the sub belongs. Corner placement maximizes output but often creates uneven response. Dual subs positioned asymmetrically (front left corner and rear right, for example) smooth out bass better than any single position.
Wiring and Connecting Your Speaker System
Use 16-gauge speaker wire for runs under 50 feet: upgrade to 14-gauge for longer distances or 4-ohm speakers that draw more current. Avoid wire thinner than 16-gauge, resistance causes power loss and affects damping factor.
Maintain consistent polarity: connect positive (often marked red or with a stripe) on the receiver to positive on each speaker, negative to negative. Reversed polarity on any speaker causes phase cancellation, particularly noticeable with the center channel.
For in-wall or in-ceiling runs, use CL2-rated or CL3-rated speaker wire that meets fire safety codes. These cables have insulation rated for enclosed spaces. Standard zip cord isn’t code-compliant inside walls.
When running wire through walls, drill holes through the center of studs (2x4s are actually 1.5″ x 3.5″, so aim for the midpoint) to avoid nails from drywall or future hanging accidents. Use low-voltage mounting brackets for in-wall volume controls or connection plates. These don’t require electrical boxes but do need proper support.
Banana plugs or spade connectors simplify connections at the receiver and speaker terminals, especially if you’re frequently disconnecting equipment. Bare wire works fine when properly stripped (remove 3/8″ of insulation) and twisted tight, just ensure no stray strands bridge positive and negative terminals.
Most AV receivers include automatic speaker detection that sends test tones and measures distance, level, and basic frequency response. Run this setup after all physical connections are complete. It provides a baseline calibration that you’ll refine manually.
For wireless surround speakers, ensure the transmitter stays within line of sight of the receiver when possible. Walls and metal ductwork degrade signals. Wireless systems add slight latency (10-30ms typically), which better receivers compensate for through delay adjustment.
Calibrating and Fine-Tuning Your Setup
Invest in a sound pressure level (SPL) meter or download a calibration app with SPL measurement. You’ll use this to set each speaker to 75 dB at the listening position using pink noise or test tones from your receiver.
Start with your receiver’s auto-calibration routine (Audyssey, YPAO, Dirac Live, etc.). Place the included microphone at seated ear height in your primary listening position. Many systems measure multiple positions, place the mic at different seats for each measurement to optimize for a broader listening area.
After auto-calibration, verify speaker distances manually. The receiver calculates these via time-of-arrival measurements, but obstacles or reflective surfaces sometimes throw off readings. Use a tape measure from each speaker to the listening position and compare against the receiver’s settings. Adjust if values are more than 6 inches off.
Check crossover settings. Most bookshelf speakers cross to the subwoofer at 80Hz (THX standard). Larger towers with 6-inch or bigger woofers might extend to 60Hz, but 80Hz works for nearly all systems and simplifies bass management.
Set your subwoofer’s phase switch to 0 degrees initially. Play a bass-heavy movie scene while switching between 0 and 180 degrees, keep whichever setting produces tighter, more impactful bass at your seat. This compensates for subwoofer placement and room acoustics.
Trim levels need manual adjustment after auto-calibration. Use the SPL meter and your receiver’s test tone generator. Each speaker should measure 75 dB ±1 dB at the main seat. Surrounds often benefit from a 1-2 dB boost above reference to enhance immersion without overwhelming the fronts.
For Atmos systems, height channels typically sit 3-4 dB below the ear-level speakers. They provide ambient cues rather than primary content.
Room acoustics matter more than equipment cost past a certain point. If dialogue sounds echo-y, add absorption (heavy curtains, upholstered furniture, acoustic panels). If the room sounds dead and lifeless, add diffusion (bookshelves, irregular surfaces). Bass traps in corners tame room modes below 80Hz where the subwoofer operates.
Re-run calibration after any speaker repositioning or significant furniture changes. Sound interacts with every surface in the room, and even a moved couch affects frequency response and imaging.